Mesher
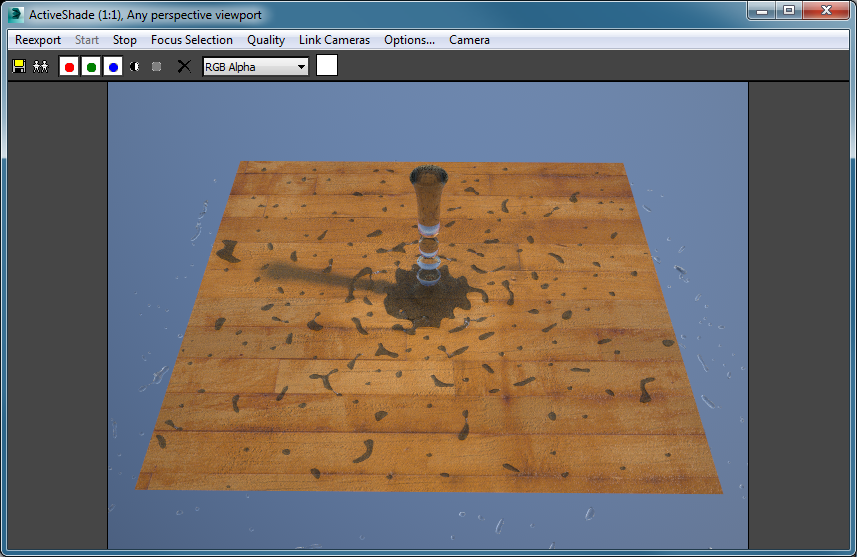
Maxwell can generate meshes from Realflow BIN particle files at render time, removing the need for saving potentially large mesh files to disk and loading them inside Max. This feature is exposed through the Realflow RenderKit Mesher node, which can be created from the Maxwell category in the Create->Geometry rollup by pressing the MxMesher button. In order to render meshes, you need to add a new sequence to the MxMesher by pressing the Add button. You can pick any file in the particle sequence when prompted and the plug-in will automatically take care about replacing the frame number in the file name with the current frame. It is possible to add multiple sequences to be meshed together in the same object by using the Add button. You can also remove a sequence by clicking the Remove button while a sequence is selected in the particle sequence list. The node uses the current frame for determining the name of the files to load.
The particles are displayed in the viewport as points. The amount of points to load and display can be controlled with the Display LOD parameter. This parameter does not affect the render in any way.
You can apply a material to the mesher object like on any other Max mesh
The functioning and parameters of the mesher are described in detail in this section of the main Maxwell manual
Particles
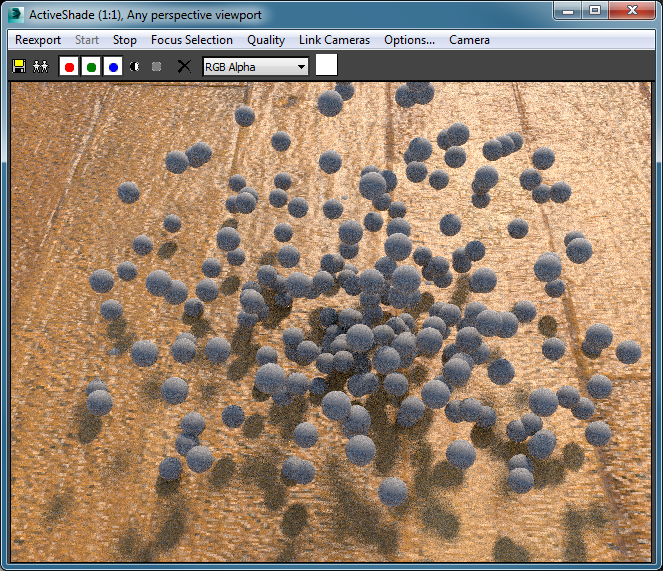
Realflow particle sequences can be rendered in Maxwell as procedural spheres using the Realflow RenderKit Particles node. To create this node use the MxParticler button in the Create->Geometry rollout. After creating a particler node, you need to select a particle file and, similarly to the mesher node, you can pick any file in the sequence and have the plug-in resolve the correct file name on export. The particles are displayed as points in the viewport and there's a level of detail control in the main attributes group.
Realflow computes various particle attributes like velocity, force, mass, temperature and so on. These attributes, called magnitudes, can be mapped as UV channels on the particles. To add a mapping, click the Add button in the UV Channel Mapping group and select which magnitude to map on which channel.
Materials can be applied on particle objects by dragging and dropping a material from MEdit or by selecting the particler and using the assign to selection button.
This section of the main manual documents the parameters of the particle primitive.
BIN Mesh Loader
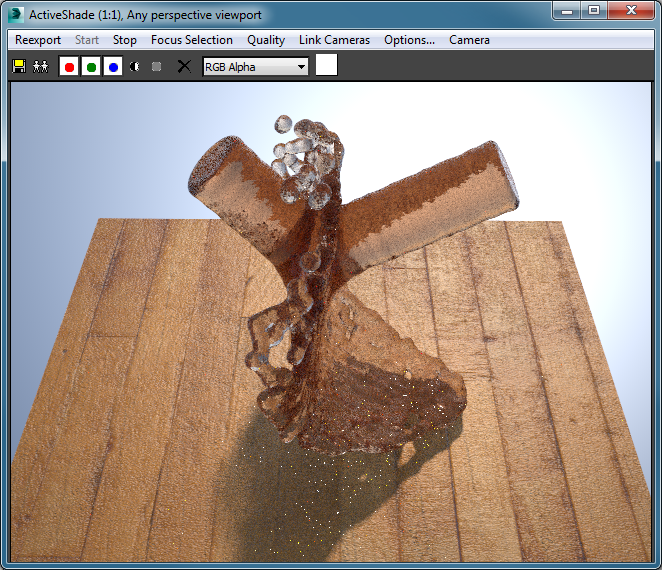
BIN mesh files generated by Realflow can be referenced inside the scene by using the BIN mesh loader. This way you can skip loading the mesh data inside Max itself (which can use a lot of memory and slow down the viewport) and you can render such meshes in Maxwell without requiring the Realflow plug-in to be installed. Maxwell will load the mesh itself at render time from the referenced BIN file. To create a BIN mesh reference, click the BIN Mesh button in the Maxwell category in the Create->Geometry rollout.
The BIN loader node has the following attributes:
- BIN Mesh Sequence: path to a file in the BIN sequence to use.
- Format: allows you to select the naming convention for the file sequence.
- Padding size: the number of digits used for the frame number in the file names. The plug-in tries to autodetect the padding and format settings when you create the node.
- Start: the frame number from which the animation starts.
- Offset: this value allows you to offset the sequence relative to the current time.
- Stop: the frame number at which the animation ends.
- Pre Behavior: controls the behavior of the mesh when the sequence frame is before the Start of the animation. Possible values are:
- Drop - the mesh doesn't appear at all.
- Hold - the Start frame will be used to represent every frame before Start
- Loop - when reaching a frame number below Start, the mesh will start over looping from the End frame.
- Post Behavior: controls the behavior of the mesh when the sequence frame is after the End of the animation.
- Motion Blur Strength: can be used to control the amount of motion blur, in case the simulation was performed at the different scene or time scale.
- Smooth Normals: BIN files do not contain normals, so this setting controls how the normals are generated: smooth or faceted.
- Smooth Angle: when smoothing is on, this represents the maximum angle at which two faces are considered smooth. If the angle between two faces is larger than the limit, a hard edge is used between them.
- Time: this attribute is used to determine which frame to load from disk. When the node is created, it is connected to Maya's default time source. It can be reconnected or keyed to decouple the time used by the loader from the current frame.
- Display Mode: controls how the mesh is shown in the viewport. Mesh mode displays the full mesh, while Point Cloud mode displays only the vertices as points. The Point Cloud mode is faster and uses less memory, so it's recommended for heavy meshes.
- Display LOD: when the object uses the Point Cloud display mode, this attribute controls the amount of vertices to use in the viewport.
As with the other primitives, materials can be applied by drag and dropping from MEdit or by using the assign to selection button.


