3dsmax - Motion Blur
Types of Blur
Maxwell supports two kinds of motion blur:
- Movement Blur: the position and orientation of the objects are exported in two or more points in time, or substeps. The first sample is taken when the camera shutter opens and the last substep is taken when the shutter closes. The remaining samples, if any, are equally spaced during the exposure interval. Maxwell interpolates the movement between these points. This mode is very fast to render and supports arbitrarily complex movement, e.g. objects following sinuous paths, spinning propellers etc.
- Deformation Blur: the vertices of the objects are exported when the shutter opens and when it closes. Maxwell performs linear interpolation between the vertex positions, so only translations are possible. No topology changes are allowed (adding or removing vertices or faces). This mode is slower to render, requires more memory and cannot capture complex movements, but it is useful when object deformations such as skinning, morphing or warping must produce motion blur.
The two modes are often used together with movement blur resolving large changes in positions, and deformation blur handling the comparatively smaller changes due to skinning, squashing etc. If an object does not deform between the shutter open and close events, the plug-in automatically disables deformation blur for it, so the rendering performance and memory usage are not affected by rigid objects.
Motion blur must be turned on globally in the render options panel. It is usually best to set it to Movement + Deformation and let the plug-in turn off deformation for the objects which don't need it. However, this can increase export times in scenes with heavy geometry, therefore in some occasions you can switch to Movement Only if you know you're not going to need deformation blur. The type of motion can also be overridden for specific objects in their render flags rollups, but note that you cannot enable motion blur on an object if it is turned off in the render options panel.
Substeps
The number of substeps used for movement blur can be set in the global render options. For simple movement, such as translation and rotation with constant speed, two steps are enough to reconstruct the correct motion. However, if the object accelerates or changes direction during the exposure interval or performs any other kind of non-linear movement, you will need to increase the number of steps until a reasonable look is achieved. The following images illustrate an extreme case where an object moves along a complex path while the shutter is open:
Path in the Maya viewport, for reference. | With 2 steps, the object follows a straight line |
|---|---|
10 steps are still far from enough to capture | 100 steps are needed to come close to the |
Increasing the number of steps does not usually have a large impact on the rendering performance, but can slow down the export process if the scene has complex relationships which take long to evaluate when the current time is changed.
Skinning and Binding
Movement which results from skinning can only be exported as deformation, even if rigid binding is used. In Max terms, movement blur is only computed from changes made through the translate, rotation and scale gizmos. Anything which is inserted in the construction history of the mesh - deformers, skin modifiers etc. - is seen as deformation by the plug-in.
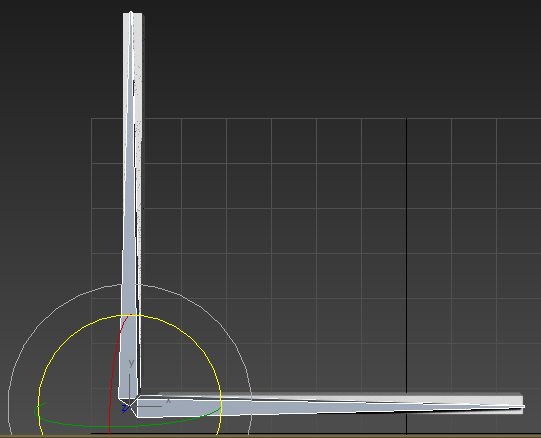
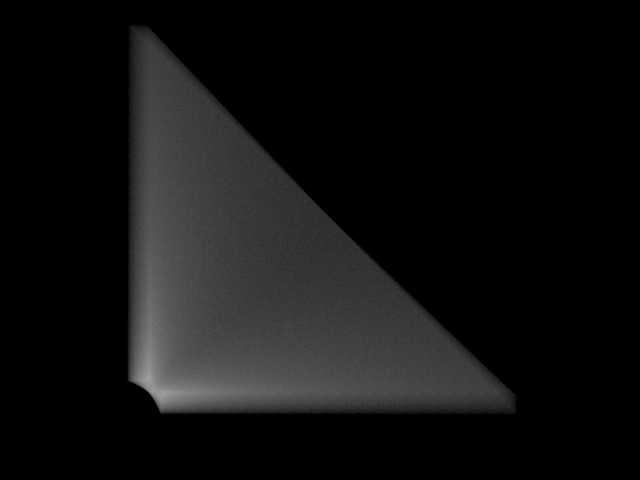
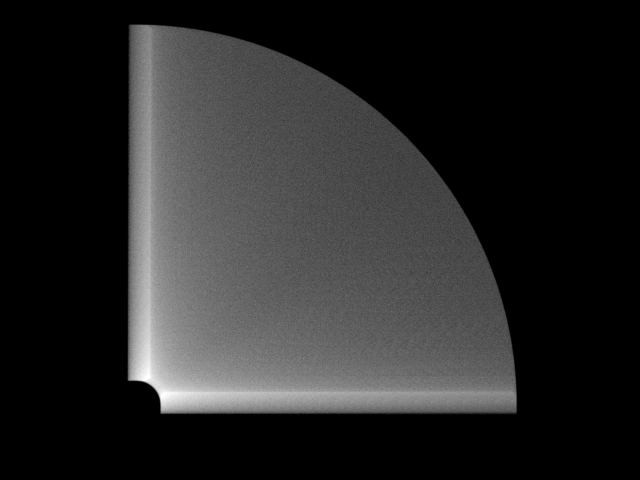
In some cases it is possible to parent objects to joints instead of binding them. Since parenting affects the transform nodes, this will allow movement blur to be used on the parented object. To demonstrate, we will show a simple construction similar to a hinge or wing, where a rectangular object is first rigidly bound to a 2-joint chain, then parented to the end joint:
The position of the end joint in frames 1 and 2. | |
|---|---|
Rigid bind. | Parented to end joint. |
You can notice how the trajectory of the left end of the object is incorrect - it's linear instead of following a curved path, as if the object is shrinking and then enlarging during the motion. In contrast, when the object is parented to the joint, the correct rotation is rendered and Maxwell uses the more efficient movement blur method.
Camera Movement
Maxwell correctly renders motion blur caused by camera movement. The camera position is sampled with the same number of substeps as the object motion. The following images first show a spinning cube, then the camera spinning around the cube in the opposite direction. Notice how the cube looks the same, but the background is blurred by the movement of the camera in the second image:
Cube spinning around its center. | Camera spinning around the cube. |
|---|
The number of motion steps plays a subtle role in camera blur, which becomes visible when the camera follows an object. If the movement of the camera is more complex than that of the object being followed (or the other way around), a low number of steps will cause the object to be incorrectly blurred because Maxwell is unable to reconstruct the exact motion of both objects. In the example above, the spinning motion of the cube is simple and can be reconstructed accurately with only 3 steps. However, the camera does not perform a simple rotation around its pivot, as the cube does; instead, it follows a curved path around a point in space, which is harder to reproduce. When both the cube and camera are spinning at the same time, but in opposite directions, we expect to see no blur on the cube, but a low number of substeps will produce artifacts:
Incorrect motion blur on the cube when using only 3 substeps. | Increasing the number of substeps to 20 corrects the problem. |
|---|


