3dsmax - Hair
- Systems Next Limit (Unlicensed)
- Anonymous
Starting with version 2.6, Maxwell offers a procedural primitive which can render hair faster and with significantly lower memory usage compared to converting the hair to polygons. The Max plug-in exports Ornatrix, Hairfarm and Max hair to this primitive.
Hair Farm
The Max plugin can export all Hairfarm features, however due to limitations in the extension, the Thickness Curve must be a strictly decreasing line towards the tip.
Ornatrix
The Max plugin supports the latest version of Ornatrix
Update when you get a new license for Ornatrix.
Hair & Fur
Maxwell supports the Hair & Fur modifier. The colors computed by Hair & Fur from the root/tip color, hue/value variation and mutant hair parameters can be exported and used as vertex colors; these parameters can also be textured. Objects that have a Hair & Fur modifier applied have an extra checkbox in the Object properties Maxwell tab that can be used to toggle vertex color export. The grass extension uses the material assigned to the node that contains the Hair & Fur modifier as the grass material.
Vertex Colors
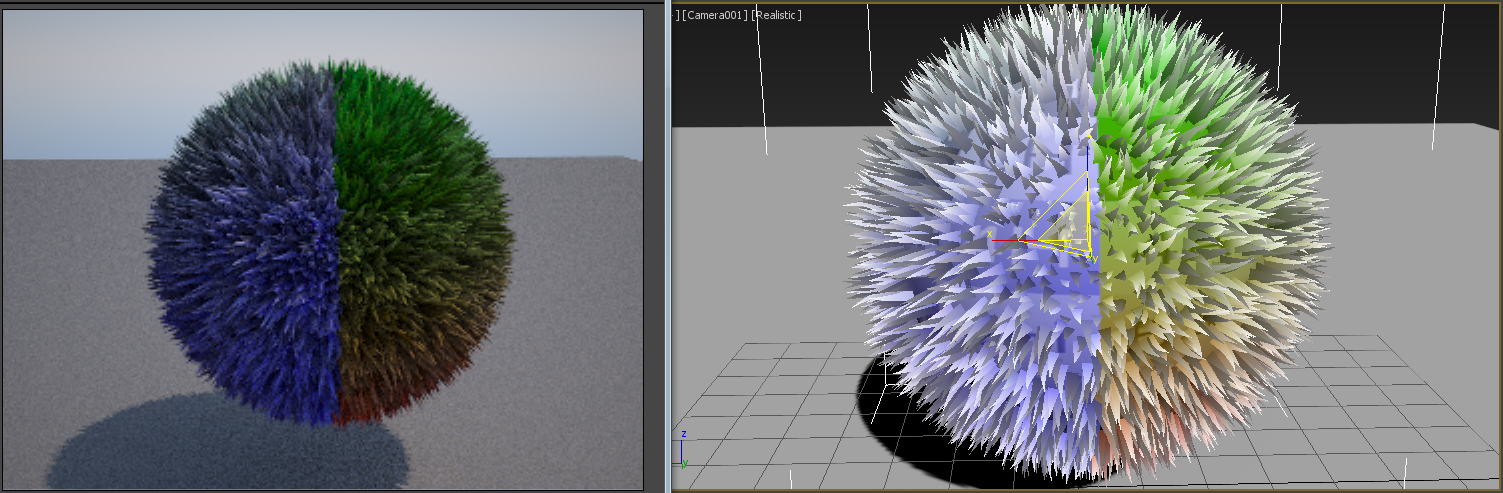
The Maxwell hair primitive allows a color to be specified at each hair point (knot). These colors are interpolated along each segment and modulated (multiplied) by the reflectance 0 texture of the material. Therefore, when the hair system can generate color information, as is the case for Max hair, you can use these computed colors inside Maxwell by applying a white texture on the reflectance 0 attribute of the material. The look of the hair in the following image was obtained by manipulating the Shave settings and applying a simple Maxwell material with only a white, 1-pixel texture:

Mapping Textures
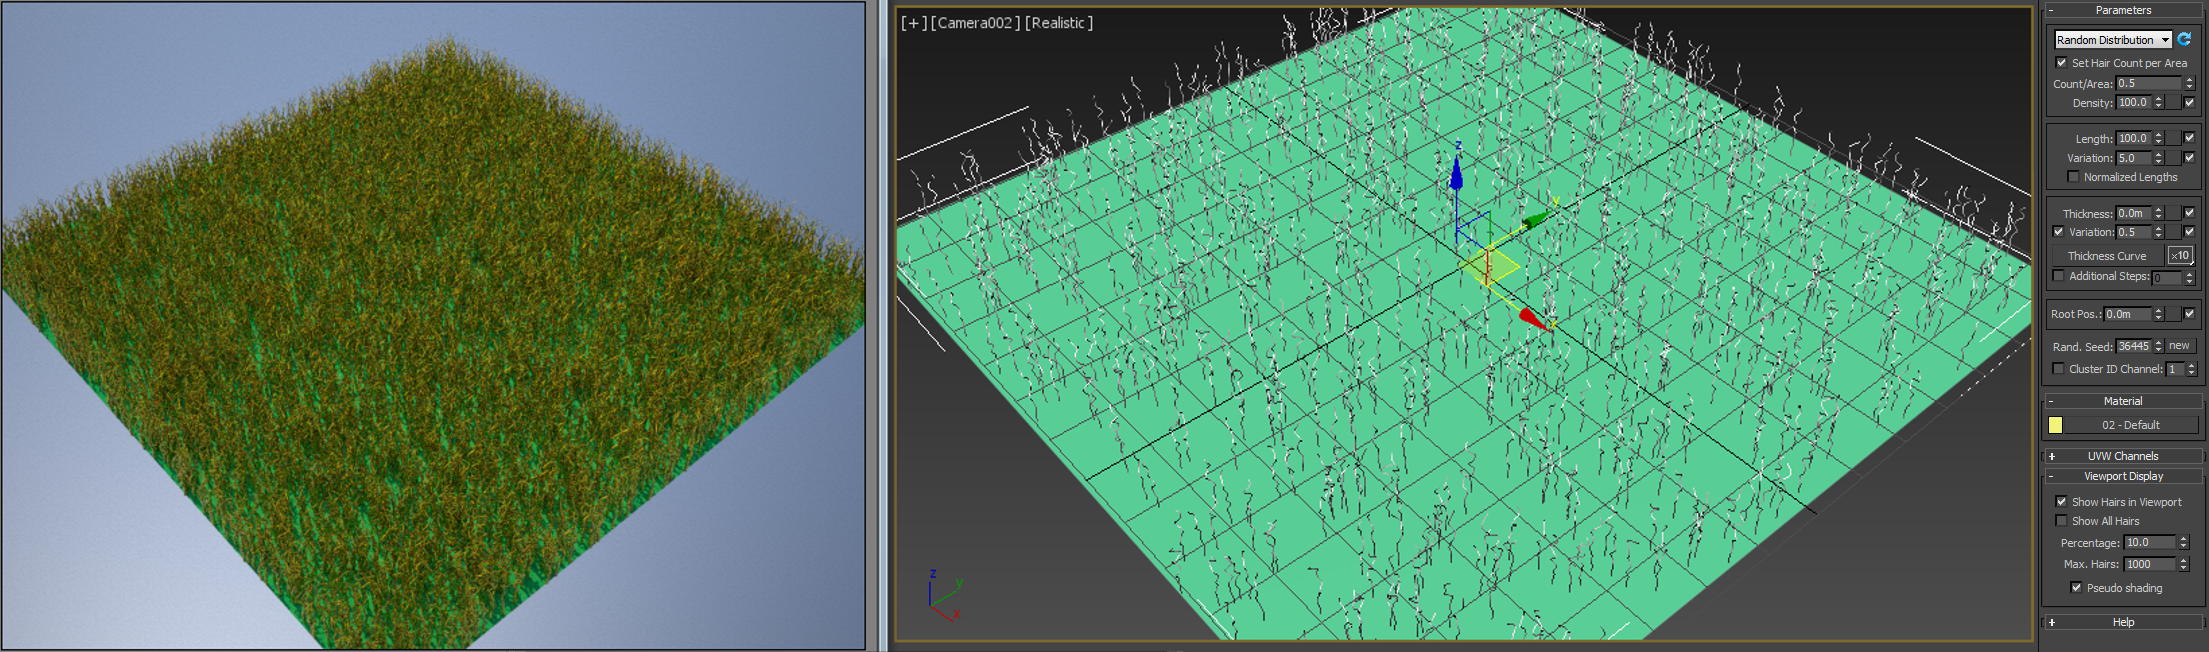
Maxwell automatically generates a UV set in which the V coordinate goes from 0 to 1 along the length (height) of each hair. When rendering as blades, the U coordinate goes from 0 to 1 along the width of each blade; when using cones, U is 0 everywhere. This UV set is placed in channel 0, so any textures you use in a material will use it implicitly. Since the set is generated, it doesn't depend on the mappings applied to the object that was used to place the hair. The following image is obtained by mapping a red to green gradient texture on the reflectance 0 of a material, using channel 0:

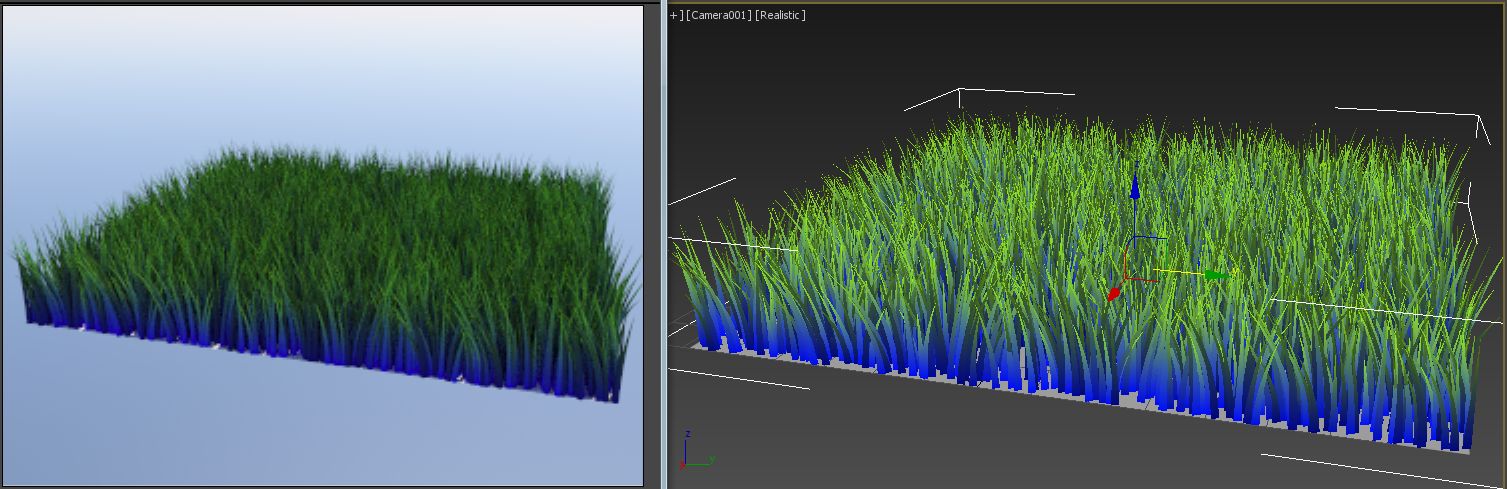
Root UVs are computed by taking the UV coordinate that the generator surface has at the location of each hair root. This UV set is placed in channel 1. To use it, open the MxBitmap node used on the object that has the grass modifier and set the UV Channel control to 1:
The two channels can be used at the same time to create interesting effects, such as using different textures for the root and the tip and interpolating between them. The Texturing hair and fur page in the Knowledge Base explains how to achieve this.