Spline Emitter
- thomas (Unlicensed)
- Hector Artal (Unlicensed)
The "Spline" emitter allows to emit particles from a given path. It is also possible to make particles following a path, but in this case we recommend using the → "Spline" emitter, because it has more options and better control parameters.
- Start with the spline, e.g. one of Cinema 4D's native types like "Helix", or a hand-drawn spline.
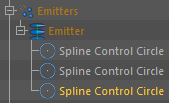
- Add a "Spline" emitter and drag the spline to Emission > Spline Object. Three "Spline Control Circle"nodes will be created under "Spline" emitter node
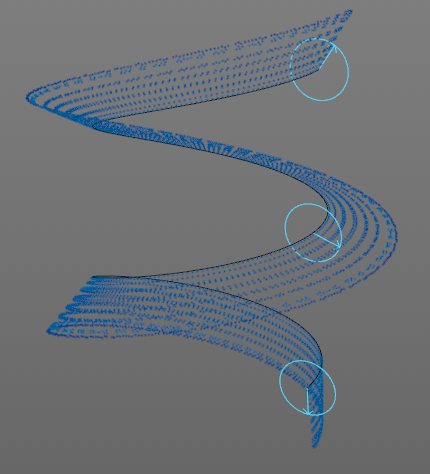
- The viewport gizmo has the spline's shape and blue circles, indicating the emitter's control circles.
- The arrow inside the circle represent the emission direction and radius of the circle the particle stream's thickness.
If you need more control circles proceed as follows:
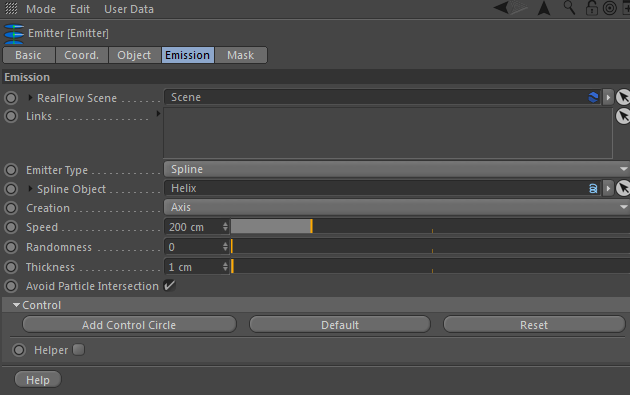
- Go to Emission > Control and press "Add Control Circle" or in the menu Cinema 4D > RealFlow > Spline Control Circle .
- A new control circle appears.
- Repeat this process until you have enough circles.
Adjusting Control Circles
Each control circle can be adjusted individually:
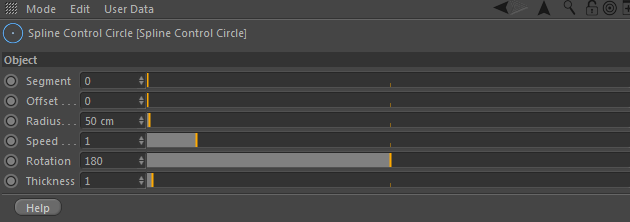
- "Segment" determines in which segment of the spline you want to place this control circle (only use for spline with more than one segment).
- "Offset" in which position the control circle is located (0 means the begin of the spline and 1 end of the spline).
- "Radius" determines the fluid stream's thickness when Emission > Creation is set to "Tube" or "Edge". You can use the viewport gizmo as well.
- "Speed" is the particles' emission speed at creation time. This value is combined with the global "Speed" parameter.
- "Rotation" makes it possible to change emission direction. Direction is indicated by an arrow in the viewport gizmo.
- "Thickness" It is possible to control the thickness of the emission per control point.
Animated Splines
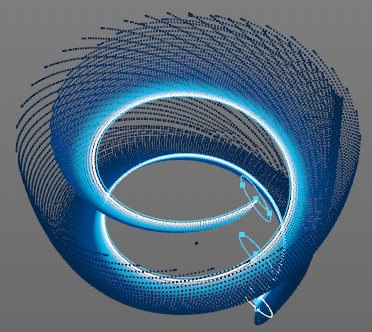
Very nice simulations can be achieved with animated splines: many of Cinema 4D's built-in spline have animatable parameters, e.g. radius or angle. The "Spline" emitter recognizes these changes over time and uses the animation to control particle emission.
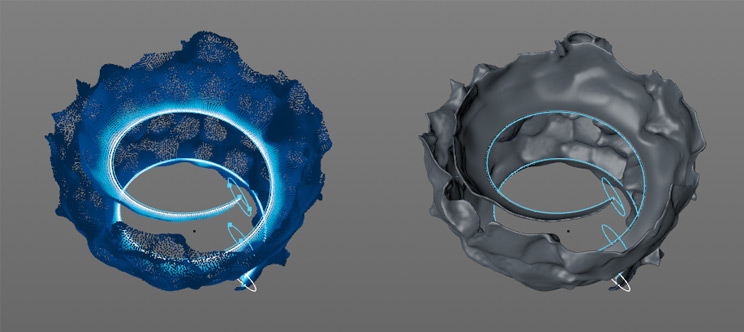
In the image below you see a "Helix" spline with animated "End Angle" values from 50° to 720°. The emitter's "Creation" mode is "Axis", and "Speed" is 200.0. Additionally, a → "Drag" daemon has been added to slow down the fluid:
Supporting Daemons
- A → "Drag" daemon decelerates the particles. This daemon is very sensitive and you should start with moderate values between 0.1 and 0.5.
- The → "Noise Field" daemon introduces turbulence and cares for a vivid fluid simulation.
- The → "Sheeter" daemon helps to fill holes inside the fluid and prevents the particles from being torn apart.
- The → "k Isolated" daemon removes stray particles.
- With → "k Age" it is possible to delete particles after a certain time.