Particle Rendering
- thomas (Unlicensed)
- Next Limit
- Hector Artal (Unlicensed)
- Alex Ribao
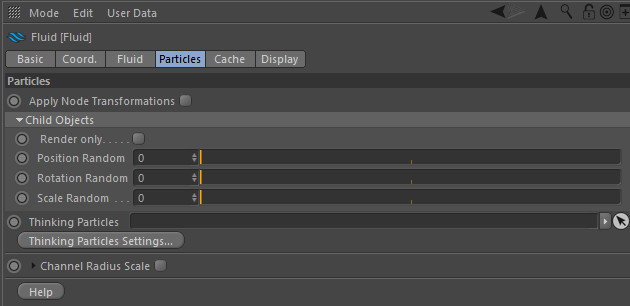
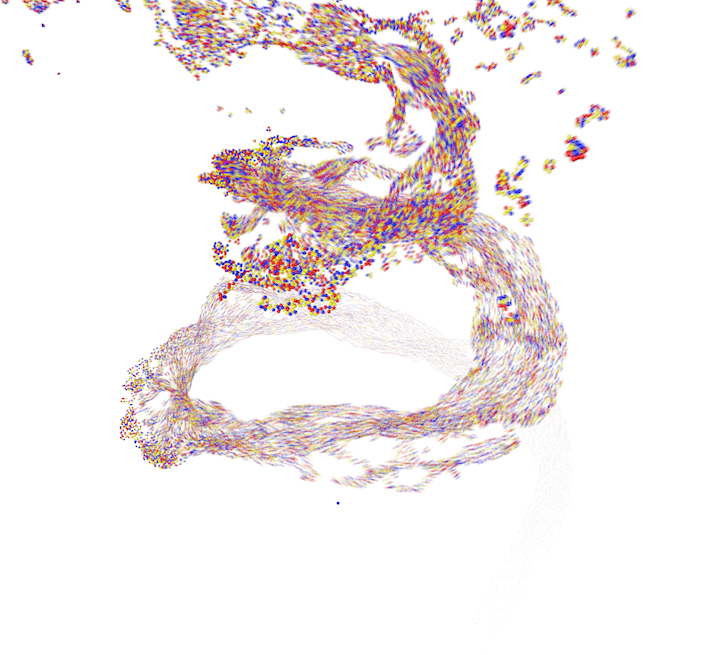
When a particle simulation is being rendered you will not see anything, because the particles are nothing more than position indicators – just as you know it from Thinking Particles or Cinema 4D's standard particles. But, adding render instances is just a matter of a single drag-and-drop action once the fluid simulation is finished:
- Create the object you want to use for rendering the particles.
- Scale and/or rotate it as you need and apply a material.
- Group the object under the "Fluid" container.
- Render.
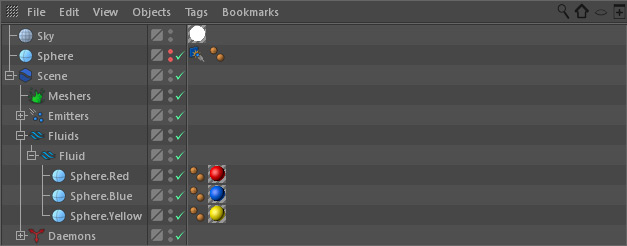
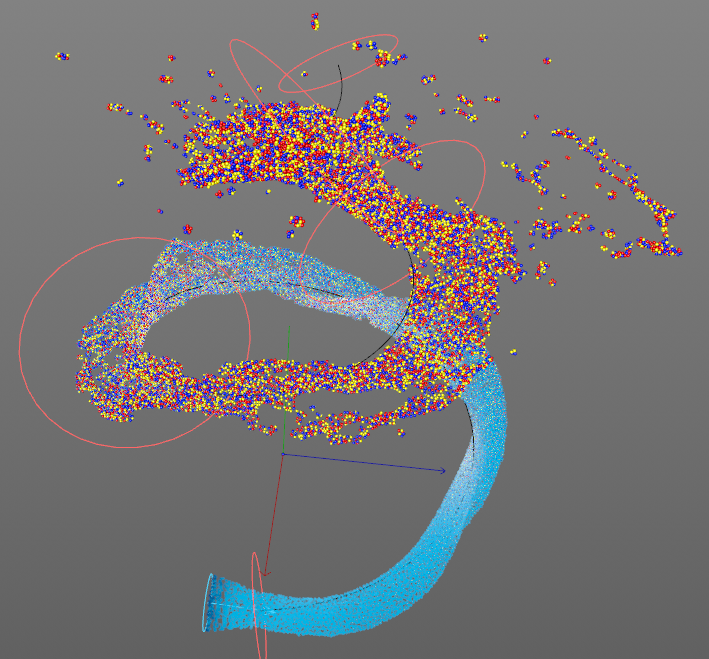
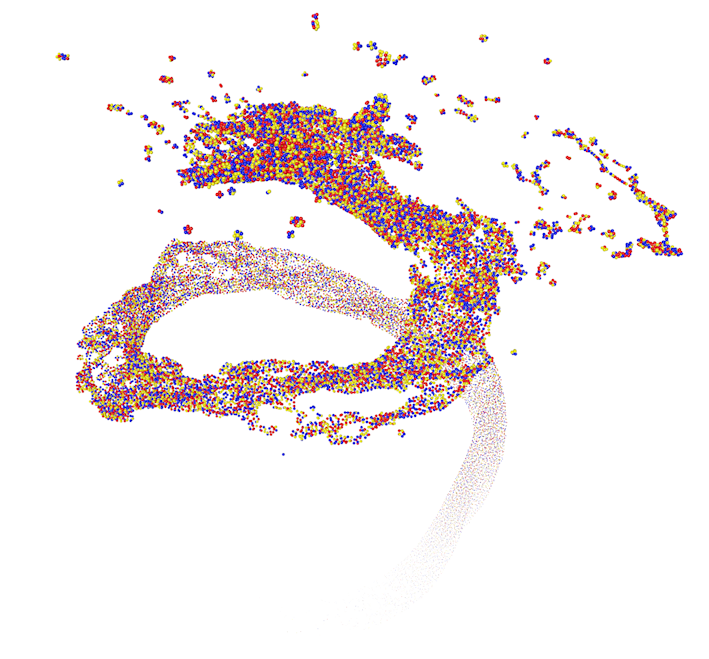
You can attach as many objects as you want and apply different materials as well. RealFlow | Cinema 4D will distribute the objects accordingly. Even animated objects are supported, as well as mixtures of animated and static objects.
To see the objects at simulation time go to Fluid > Particles > Child Objects and disable "Render only". Be aware that disabling this option might increase simulation time.
Scattering and Random Instances
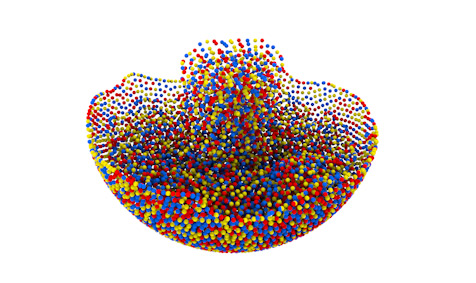
The "Random" parameters turn RealFlow | Cinema 4D into an easy-to-use scatterer. This way it is possible to randomize the render instances in terms of position, rotation, and scale. This is, for example, great for sand, gravel, or stony grounds.
Scaling particles using fluid properties
The size of the instance can be scaled using fluid properties like speed, age or vorticity. If you use Thinking Particles for rendering, the size of each particle will also be scaled.

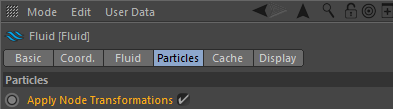
Fluid Transformations
If you click on "Apply Node Transformations" checkbox, all the transformations of your Fluid node will be applied to instances and Thinking Particles group.