/
From Zero to Render
From Zero to Render
- thomas (Unlicensed)
- Hector Artal (Unlicensed)
Owned by thomas (Unlicensed)
Last updated: 20 Feb, 2019 by Hector Artal (Unlicensed)
Getting your first RealFlow | Cinema 4D running is a matter of seconds. Here is an example scene:
- Create a "Sphere" emitter from the "RealFlow" menu – the associated "Fluid" container will be added and linked automatically.
- Go to Sphere > Emission and enter the following settings marked through blue dots:
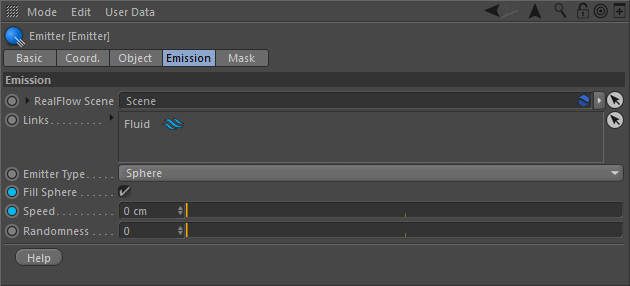
Check "Fill Sphere" and change "Speed" to 0.
- Select the "Fluid" container and set Particles > Resolution to 100.
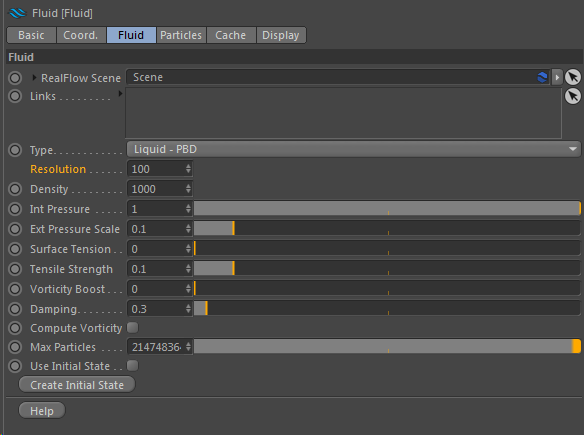
Increasing "Resolution" creates more particles and adds detail.
- Select the "Noise Field" daemon from the plugin menu to introduce a force.
- Change Noise Field > Noise Field > Strength to 50.
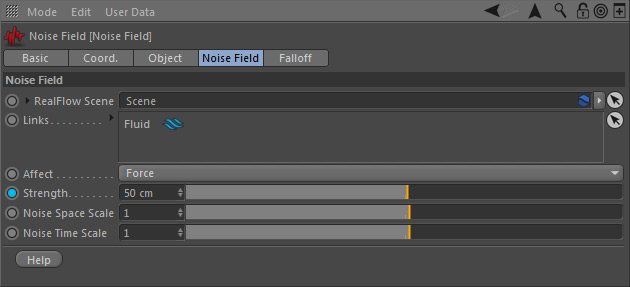
A lower "Strength" decreases the amount of turbulence.
- Hit "Play" in Cinema 4D's timeline control to simulate the scene.
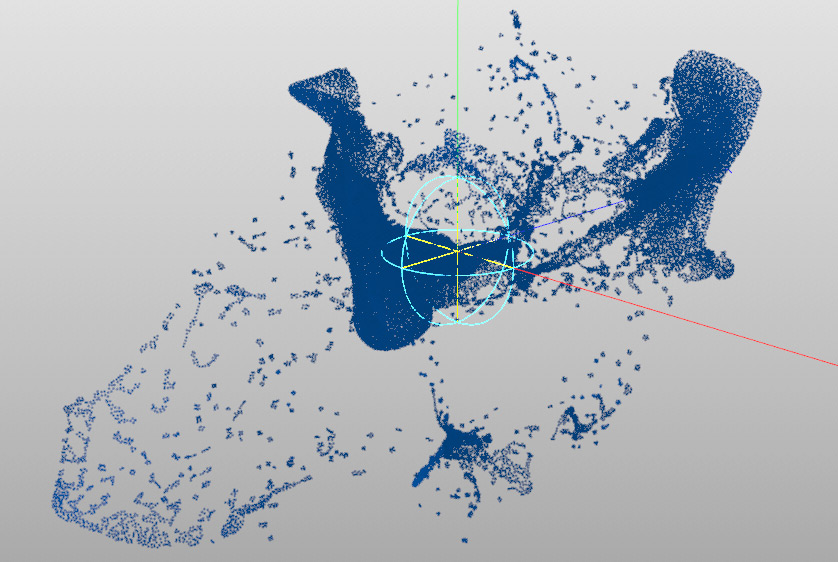
The particle simulation at frame 73.
If you are happy with the result, open the "Scene" object's "Cache" tab:
- Specify a "Cache Folder" and press "Cache Simulation".
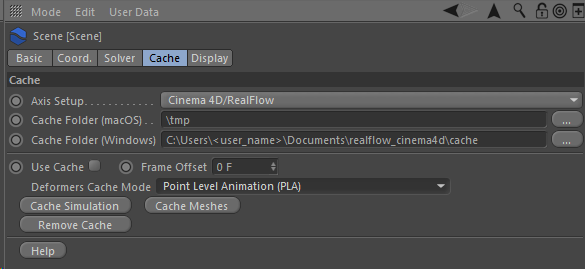
Specify a cache folder (macOS or Windows) to save the particle Alembic files.
Now there are two options: 1) render the → particles as objects, e.g. spheres or 2) mesh the particles. Let's proceed with the second option:
- Create a "Mesher" object from the "RealFlow" menu and enter these values:
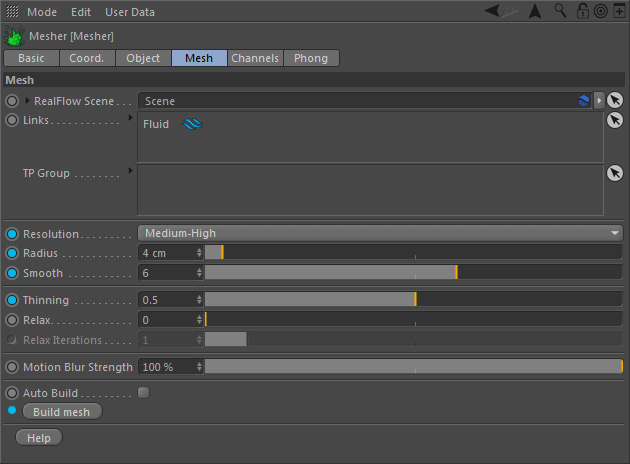
These settings create a rich and detailed mesh with a smooth surface.
Is the mesh Ok? If yes, open Scene > Cache again and click on "Cache Meshes" to save the mesh files.
Apply a material to the mesh and render with your favorite render engine.
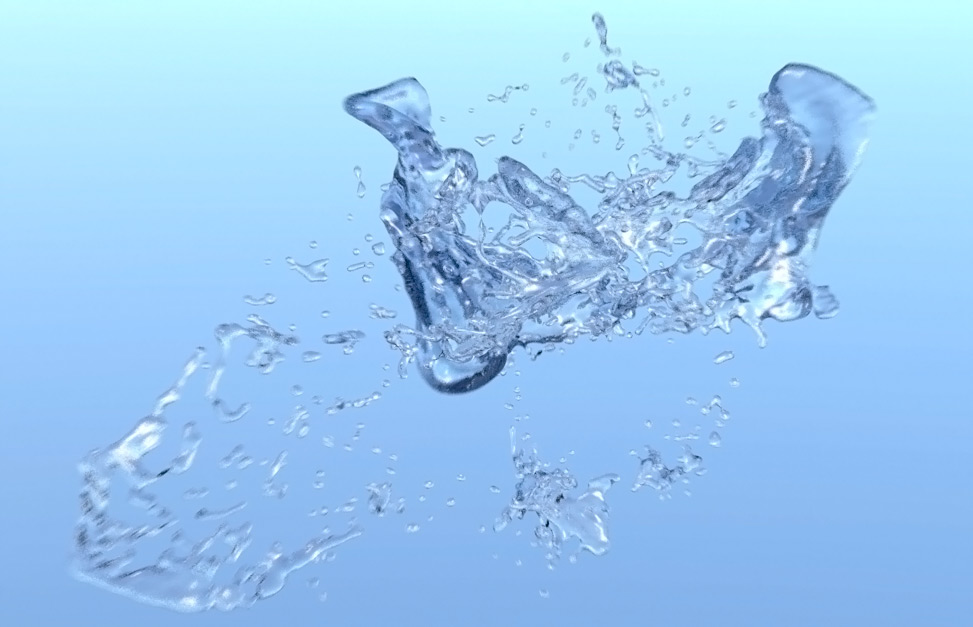
The rendered result with Cinema 4D's physical render engine and motion blur.
, multiple selections available,
Related content
Render Engines
Render Engines
More like this
Multi-Pass Rendering
Multi-Pass Rendering
Read with this
Particle Rendering
Particle Rendering
More like this
Initial States
Initial States
More like this
Filling Objects I
Filling Objects I
Read with this
MacOS
More like this