MultiJoints Basics
- thomas (Unlicensed)
MultiJoints are connectors and often used to reconnect pre-fractured objects and influence how they break:
- Active and passive rigid bodies, and soft bodies can be connected without restrictions.
- A rigid/soft body can be part of multiple MultiJoints nodes.
- It is possible to connected the individual objects inside a MultiBody.
Basic Setup – Scene
In this example we go through a scene with a fractured object:
- Add a torus from the "Objects" shelf and keep it selected.
- Object Dynamics shelf > Fracture Tool - Voronoi Uniform
- Leave the default values and press "OK".
- A new MultiBody appears, it is safe to delete the original object.
Objects can only be linked when they have a dynamics tag – you find this function under MultiBody > Node Params > Node > Simulation > Active rigid body
- Add a cube and rescale it to create a ground or floor object: Cube01 > Node Params > Node Simulation > Passive rigid body.
- Shift the MultiBody with the fragments above the ground cube (W key) and rotate (E key) it. Finally, add a "Gravity" daemon from the appropriate shelf.
Basic Setup – MultiJoint Settings
Create a MultiJoint node from the "Object Dynamics" shelf:
- Add the fractured MultiBody to the "Objects A" and "Objects B" fields of the MultiJoint's "Creation" fields.
- Press "Create/Recreate(*)" to establish the connection. The * indicates that it is necessary to create/update the joints.
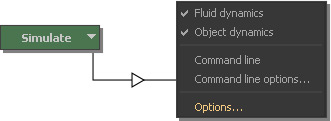
- Adjust the MultiJoints node's properties as shown below and hit "Simulate".
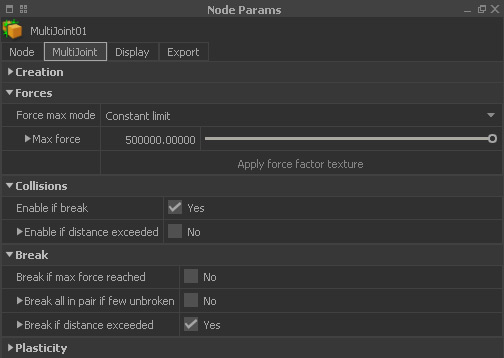
The joints between the fragments are displayed as green (= intact) crosses and they change their colour during simulation: orange stands for partially broken links and red indicates broken joints:

Play with the "Max force" value to get different breaking behaviours.
Accelerating the Simulation
When the torus is colliding with the ground object you will observe a decrease of simulation speed. In general, the simulation is not very fast.
Since the scene does not contain any fluid it is possible to change "MAX substeps" to 1 in the "Simulation Options". Furthermore, a "Quality" level of 30 for the "Caronte" solver is enough.
You find these settings here: