Introduction and interface
- Systems Next Limit (Unlicensed)
- Anonymous
Introduction
Maxwell | Multilight™ is now available as a standalone application, (but also continues as a tool within the core components of Maxwell Render). This section deals specifically with the standalone application.
Multilight™is a complete MXI editing tool which allows you to change intensities of individual lights and multiple emitters in your scene. This data is stored in the MXI exported from your 3D platform integration or from Maxwell Studio – where Multilight has been enabled, and it means that you no longer have to run multiple test renders to tweak the lighting set-up.
Maxwell | Multilight™ also includes Color Multilight, which allows you to edit the color of emitters in real time. You can save different images of the same scene under different lighting conditions.
These features give you infinite possibilities, saving numerous different lighting versions of the same scene without rendering it over and over again. The Multilight™ feature was the first of its kind in a commercial render engine and it is extremely powerful.
Supported image formats:
- Import: mxi
- Export: png, jpg, bmp
Basic workflow:
- Render your scene in Maxwell Studio or directly from your 3D application, exporting the MXI file.
- Import the MXI file into Maxwell | Multilight™.
- Edit the scene lighting as desired with Multilight, ISO, Shutter, etc and save as many images and iterations as you need.
- As the application is free, you can send your .mxi files to your client and let him play with them.
Interface and Layouts
The Maxwell Multilight™ interface consists of four main parts: The Viewport, The Controllers, the Toolbar, and the Catalog Panel.
See Viewports and Navigation, Controller, Toolbar and Sample Catalogs subsections for an in-depth description of each area.

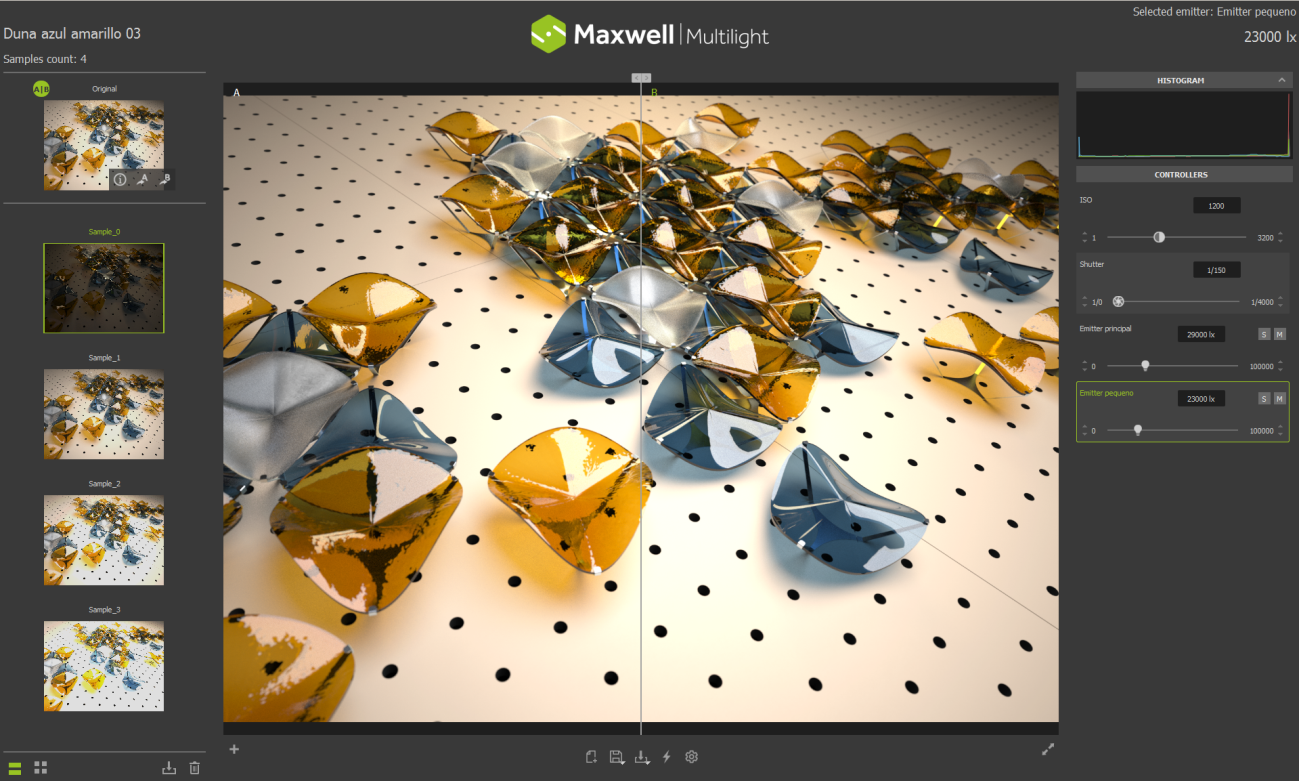
Viewport
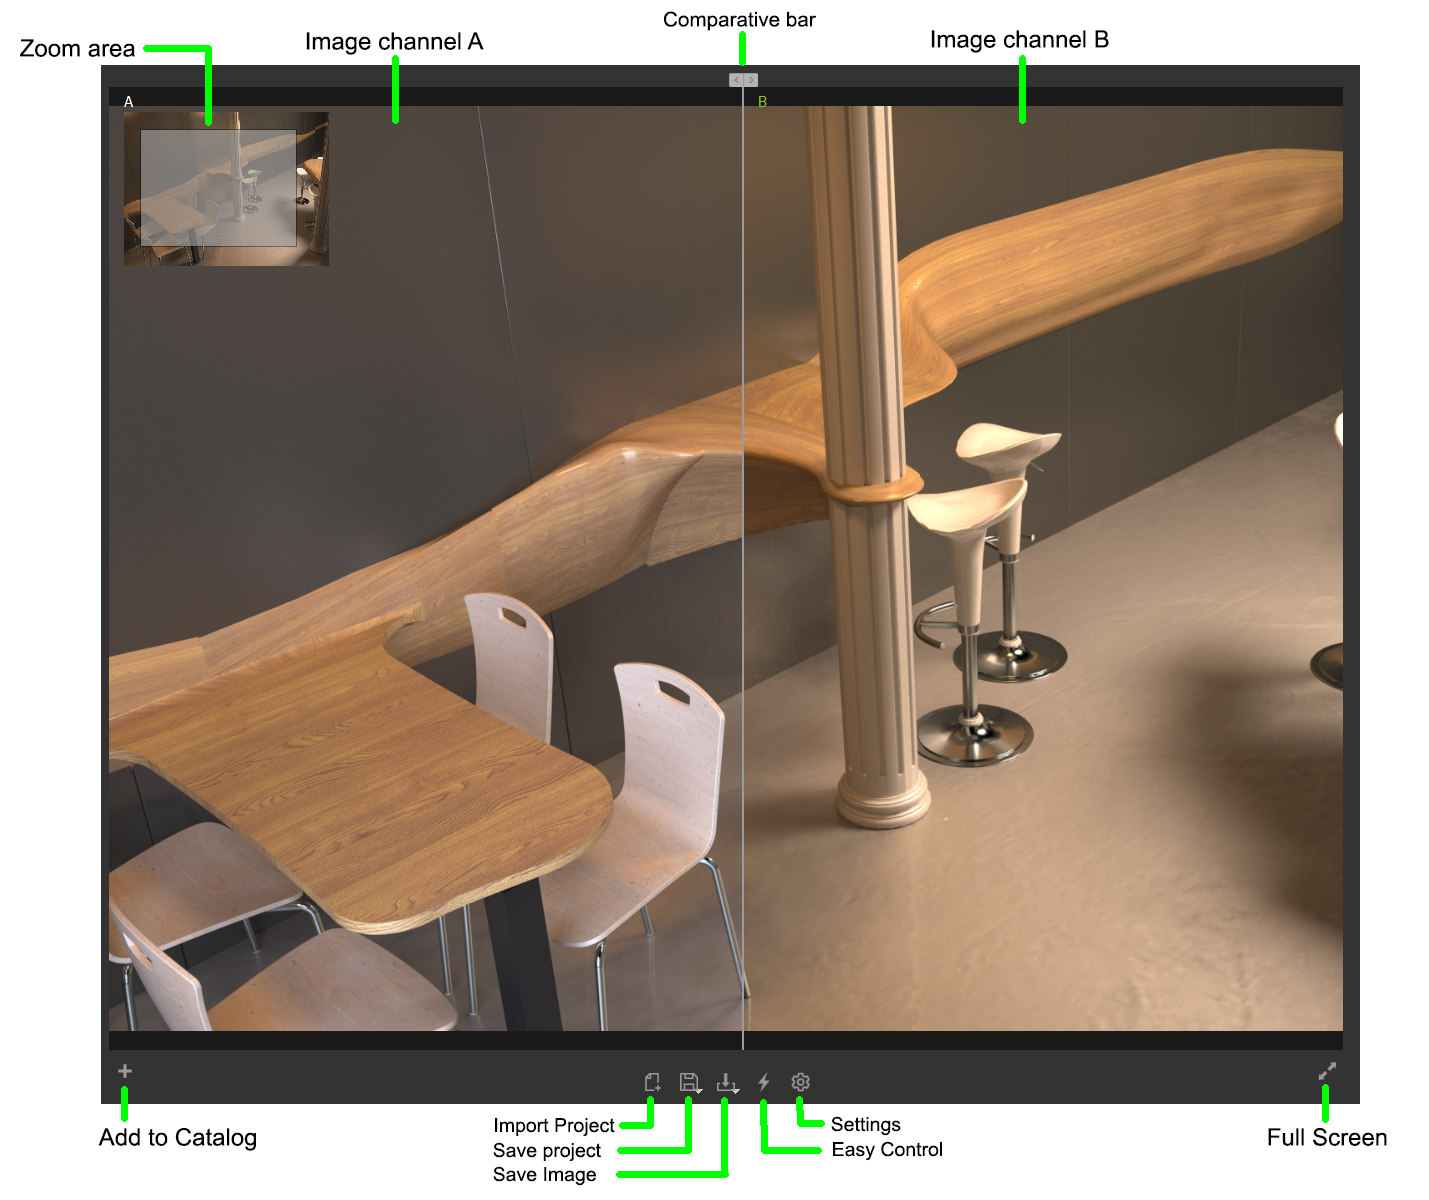
The viewport in Maxwell | Multilight™ displays the imported MXI file where we can modify the original, and compare with other modifications by using the comparative bar.
You can create as many modifications as needed, and save them in the image catalog. A zoom area will be displayed once we have zoomed on an image, for a quick image navigation.
Image Channel A displays the original image which is going to be compared with image channel B.
Image Channel B display the modified image which is going to be compared with image channel B.
The buttons at the bottom of the viewport allow you to:
Add to catalog allows you to save an image reference you are manipulating. When clicked, the B image (manipulated image) will be added to the image catalog.
The Full screen button changes the display mode of the window. Controllers and image catalog will disappear.
The Import Project button imports an MXI into Maxwell Multilight™.
The Save Project button saves an MXI of the modified project.
The Easy Control button allows you to control the lights directly on the viewport.
The Settings button displays Maxwell Multilight™.
Navigation
These are the basic functions to navigate in the viewports
Drag the Comparative bar to compare images between image channel A (original) and image channel B (modified).
Once Easy Control button is active, click on the light you want to modify and LMB + Drag on viewport from left to right, or vice versa, to modify the selected light.
Zoom with the mouse wheel and click on with LMB + Drag to quick navigation in the navigation area.
This bar gives you access to all the functions of Studio. All the tools in Studio are organized in nine different tabs.
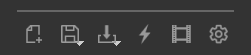
The Maxwell Multilight™ toolbar
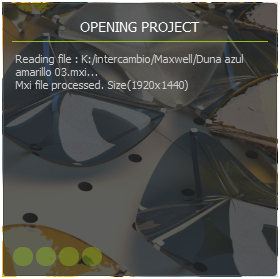
Import Project
Import anMXI file(which has been rendered) from Maxwell or from your 3D platform using the Maxwell plugin. A dialog box will be displayed showing information about the import process.
Save Project
Save an MXI in the project’s current state. A Json file will be attached to the scene projectincluding adjustments, thumbnails and image reference of the currentstate of the project.
Save Image
Save a file image as PNG, JPG or BMP in the project’s current state.
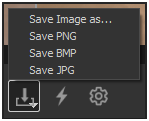
- Save Image as allows you to save a JPG or PNG file indicating the place where you want to save the file.
- Save PNG saves a PNG file in the same folder where the MXI is stored.
- Save BMP saves a BMP file in the same folder where the MXI is stored.
- Save JPG saves a JPG file in the same folder where the MXI is stored.
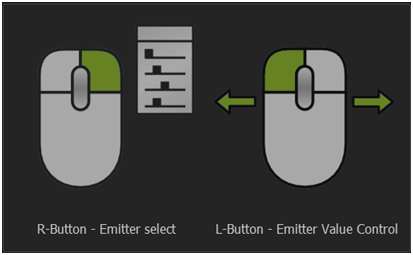
Easy Control
Easy Control enables you to modify the light values directly in the viewport. Once the Easy Control option is enabled, you can select the light and drag from right to left or left to right on viewport to modify the light value.
- Enable the Easy Control option.
- Select the light you want to modify which will be selected with a green border.
- Drag with LMB on the image channel B to modify the light value.
Settings
Display the Maxwell Multilight™ settings.
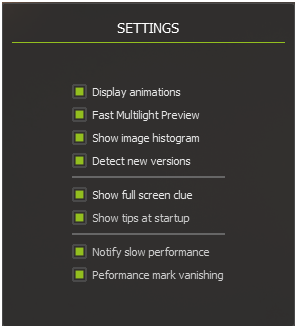
- Display animations shows the change in realtime each time we modify a light value. If this option is deactivated, the light value won't be updated until we stop dragging.
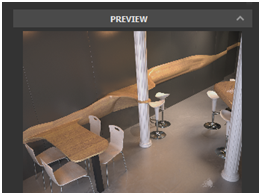
- Fast Multilight Preview displays a Preview image on the right down corner where the light changes will be applied on it before updating the main view. It is ideal if we have a low performance in our computer.
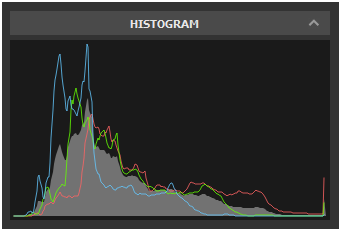
- Show image histogram hide or unhide the histogram.
- Detect new versions notifiesyou if there is new version of Maxwell Multilight™.
- Show full screen clue displays a notification every time we open Maxwell Multilight and click on the Full Screen mode.
- Show tips at startup displays tooltips nexttime Maxwell Multilight™starts.
- Notify slow performance displays a turtle icon on the left corner down if your computer has a slow performance.
- Performance mark vanishing displays the turtle icon when your computer is running slowly. Otherwise, the turtle icon will disappear.