Maxwell Settings
To adjust Maxwell Render to your needs go to the "Maxwell" shelf and click on the "Maxwell Scene Preferences" icon. A new window opens with two sections:
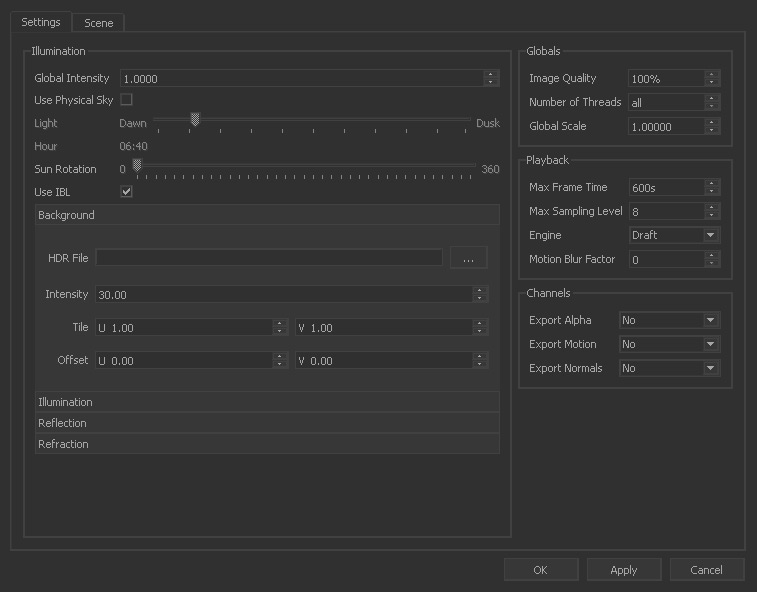
- "Scene" provides an → import dialogue for MXS scene files.
- "Settings" contains options for → lighting and parameters to configure the render engine.
Click on "Settings".
Globals
Image Quality
This parameter ranges from 20 to 100 and determines the render's size in pixels – it acts like a multiplier. An example:
- Adjusted render size: 800 x 600
- Quality = 80%
- Actual render resolution:
(800 * 0.8) x (600 * 0.8) = 640 x 480 - As a result, the image appears blurred. Change “Quality” to 100 to get a crisp render.
Number of threads
Determines how many computer cores will be used for the render.
Global Scale
Adjust Maxwell Render's scale with RealFlow's scale. If the objects in the rendered images appear like miniatures you consider a higher scale. Transparent and SSS materials also react on scale changes.
Playback
Max Frame Time
Here you can enter a render time limit in seconds. When the limit is reached the render will be aborted even if the given “Max Sampling Level” is not yet reached.
Max Sampling Level
The higher the sampling level, the less noise the final image will have. The default value of 7 is suitable for most previews. Higher settings result in longer render times.
Engine
Maxwell Render comes in two flavours: "Draft" and "Production".
Motion Blur
The value acts like a multiplier to stretch the motion blur streaks. Motion blur is not available with → Maxwell FIRE.
Apply Button
With "Apply" it is possible to trigger a new FIRE render: the preferences dialogue remains open and you can perform more changes, try different lighting parameters, etc.