Back-face materials
- Systems Next Limit (Unlicensed)
- Anonymous
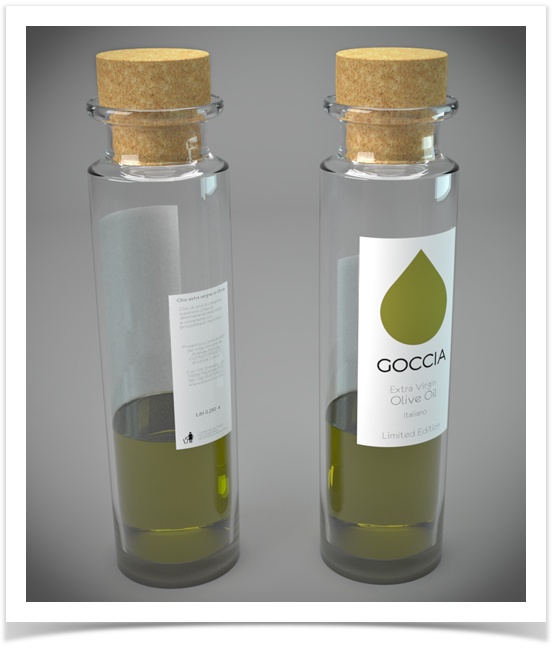
lA new addition to version 3 are back-face materials, which allow you to map a separate material to the reverse face of a polygon - the opposite side of where its normals are pointing. This is extremely useful when you have geometry modeled without thickness (for example leaves, grass, bottle labels, sheets of paper etc.) where modelling a real thickness is impractical, but you still want to mimic the fact that in reality everything has a thickness and therefore the texture and look of one side is not the same as the other. For example some leaves look shiny and darker on one side, while dull and more saturated on the other. Bottle labels have print on one side, but nothing on the reverse.
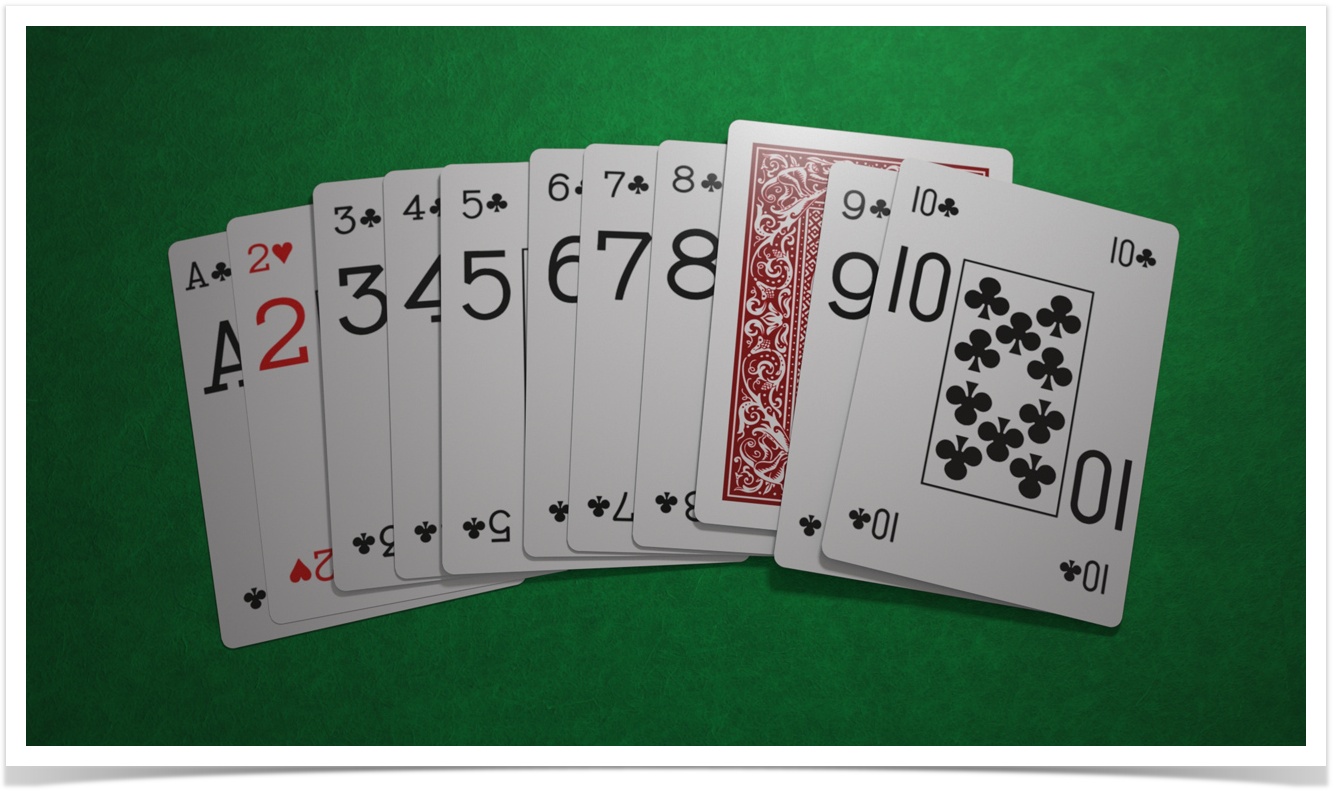
Different materials applied to front and back side for the cards
Applying a back-face material
In Maxwell Studio you will find it in the Object Parameters panel, under the "Appearance" section. For the plugins, please consult the relevant plugin documentation.
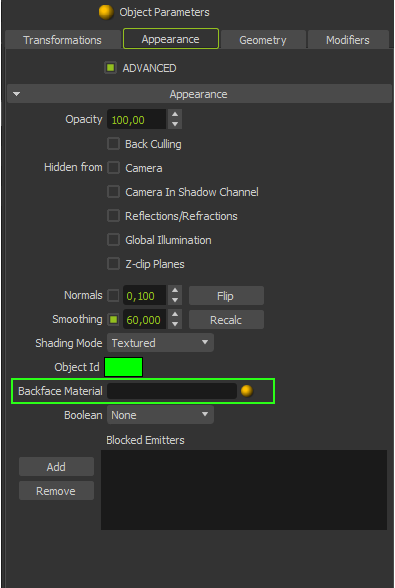
Click on the little yellow ball icon to open a pop-up with a list of scene materials which you can assign as a backface material.
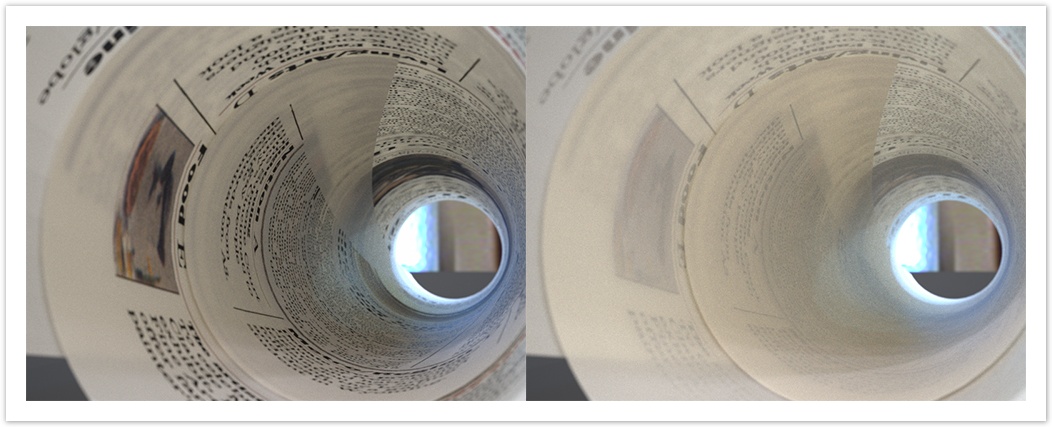
Whilst it is possible to apply (for example) a metal material on the front side of the polygon, and an invisible material for the back, we recommend using materials with similar characteristics to avoid confusing situations. Lets say you have a leaf or grass blade - start with one thinSSS material and apply some textures, then copy this material and apply a different set of textures to it and use it as a backface material, while only making slight changes to the other material parameters, such as attenuation distance. This will create the most realistic look.
Example of single sided polygon geometry mapped with two materials (in this case two Single Sided SSS materials). Only the front face of the polygon has the print material assigned.