Scene scale
- Next Limit
- Systems Next Limit (Unlicensed)
- Anonymous
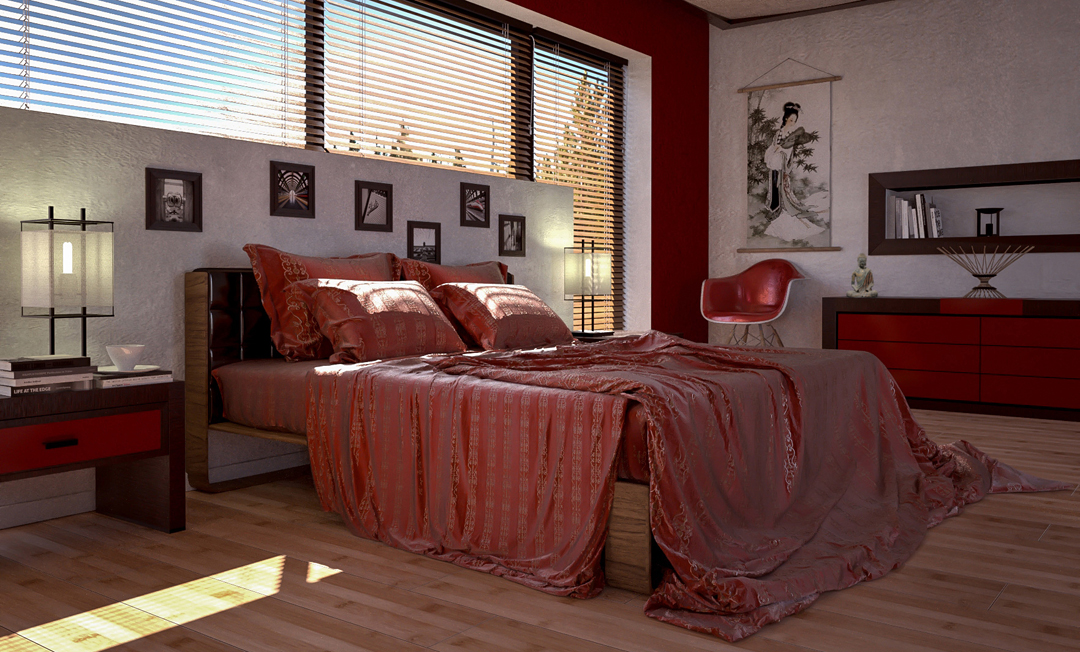
Image courtesy of Pasquale Scionti (www.sciontidesign.com)
Before learning about the different settings and components of Maxwell Render, it is crucial to understand the importance of the scene scale when rendering. Because Maxwell Render uses real-world units for lighting and camera settings, the size of your scene objects must also have a real-world scale. For example, if you wish to render a building, but that building was exported to Maxwell as having a size of 1 meter, it will be rendered it as if it was a miniature building - a maquette. The lighting and depth of field will not match your intentions.
If you are working with the plugins - they will take care to export the objects in your scene to the scale you modeled them in. But you have to make sure in your host application that the scale you model in, is the scale these objects would have in reality.
If you are not sure the scale is correct when looking at the render (an indication would be that the depth of field effect is too pronounced if you intended your objects to be very large), you can always examine the .MXS file by opening it in Maxwell Studio and checking the scene scale.
To do this:
- Open the .MXS from File > Open
- Using the grid in the 3D viewport, examine the size of your objects to make sure they are the correct scale
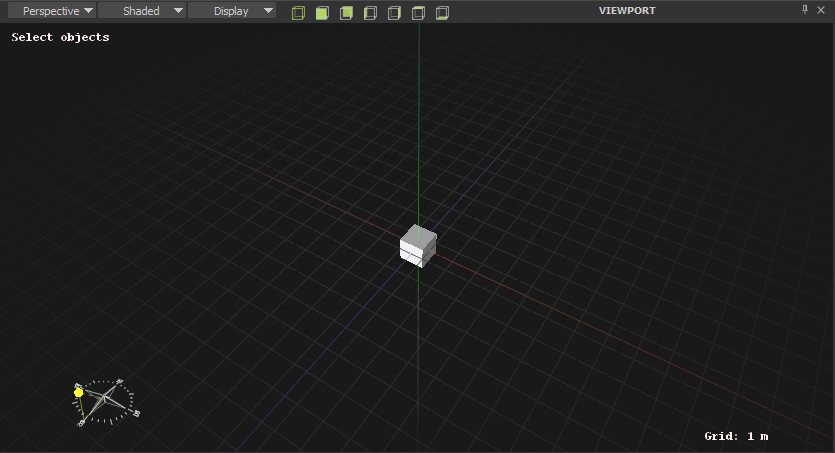
In the example below, the cube is supposed to be 1m in size, and comparing with the grid - it looks correct. Notice the grid indicator at the lower right of the viewport, it will tell you what the current grid unit is between each grid line (the thin grey lines in the image, not the thick grey lines).
Absolute and Adaptive grids
There are two kinds of grids in Studio:
- Absolute: You specify in the Studio prefs the exact size of each grid unit and the total size of the grid.
- Adaptive: When zooming in and out of the viewport, the grid units will adapt and the grid indicator will change, letting you know what the current size of each grid unit is.
It is up to you to decide which type of grid is suitable. It might be easier when checking the size of your objects to use the Absolute grid settings.
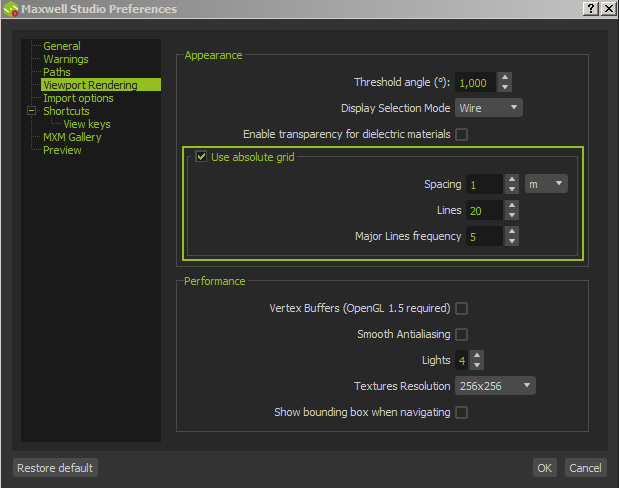
The example above used the absolute grid. You can find its settings in the Studio preferences window. (Edit > Preferences > Viewport Rendering):
Parameter name | What it controls |
|---|---|
Spacing | The size of each grid unit (the thin lines) |
Lines | The total size of the grid. In this case, since Spacing is set to 1m and Lines to 20, the total size of the grid will be 20m. |
Major Lines frequency | How often a thick grid line will appear. In this case, a thick line will appear every 5m. |
You can change the colors of the grid lines from the Preferences window, in the General Section (under Appearance).