SketchUp - Quick Start
Following is a tutorial that will help you get started using the plugin. Before doing so, though, it is a good idea to make sure that you have read the plugin overview.
Getting Started
First, it is worth mentioning that it is entirely possible to render a scene simply by clicking the Render button (or opening the Maxwell Fire window and clicking the Fire button). The plugin will automatically convert SketchUp's materials into Maxwell materials, using various heuristics to decide how each material ought to be converted. This process, however, is somewhat limited by a lack of information in the source SketchUp material; for example, all non-transparent materials will be exported as simple diffuse Maxwell materials, simply because there is no parameter in the SketchUp material by which the plugin could infer whether or not it should be exported differently.
The determination of whether to export as transparent is made based both on the SketchUp material's Opacity value and on its color; in cases where it seems appropriate, the plugin will generate what is known in Maxwell as an AGS material -- this is a glass-like material which works with non-volumetric meshes and also renders faster than a real dielectric glass material, due to its lack of refraction.
That aside, it is quite simple to customize how SketchUp materials are translated by the plugin. By default, the plugin's representation of the material (as seen in its material editor) will infer color and texture from the SketchUp material it is associated with. Additionally, a Roughness parameter is given; as this is reduced, the material will become more shiny and plasticine.
Scene & Material Setup
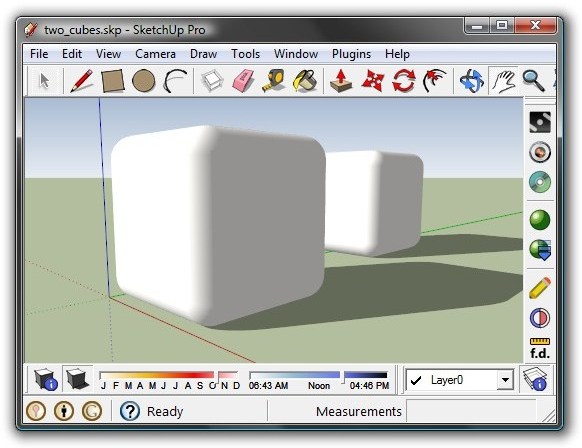
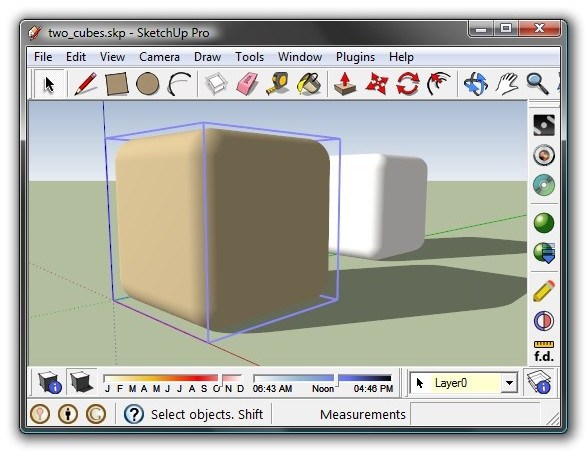
Let's try this out to see how it works. First, create a simple 1-meter rounded cube, make it into a Component, and create a copy:
Next, let's edit and assign a material to our first cube. In the plugin's toolbar, click the Scene Manager button:
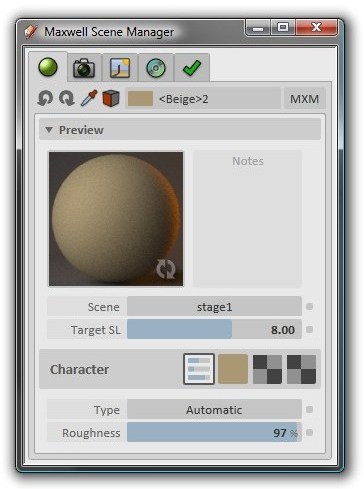
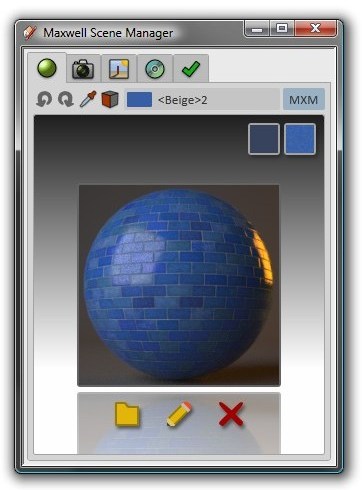
The plugin's Scene Manager window will be shown. As you will see, there are five tabs at the top of the window; select the left-most tab to show the material editor. Next, from the drop-down list at the top of the page, select the <Beige>2 material (or another if that one is not in your scene) and click the Refresh Preview button (at the bottom-right of the preview image) to generate a material preview for this material:
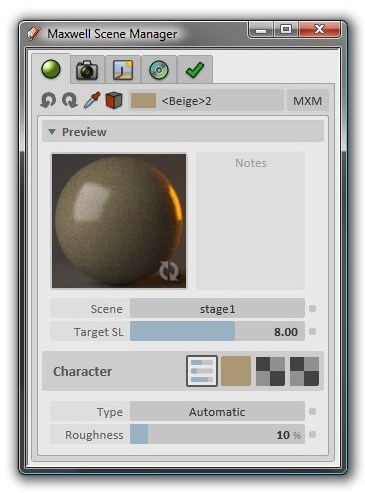
As you can see, by default, materials use a Character type of Automatic and a Roughness value of 97.0; this produces a diffuse material. If you inspect the Type drop-down, you will see that there are several types of materials available; for now, though, we will continue to use the Automatic type. Let's adjust the Roughness value down to 10% to see what that looks like (refresh the preview again after adjusting the Roughness):
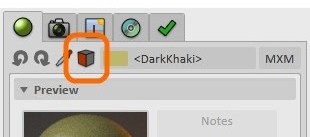
Next, select the cube nearest the camera and click the Assign to Selected Entities button:
The material will be assigned to the cube:
Now repeat these steps using the jean blue material, but assign it to the far cube.
Camera Setup
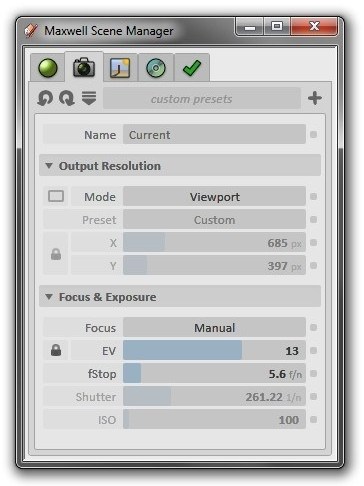
Before we render the scene, let's set up the camera; select the second tab in the Scene Manager to show the Maxwell camera parameters for the current SketchUp scene (in this case, there is no scene, so the camera will simply be named Current).
By default, cameras use what is referred to in the plugin as Viewport mode; when this is the case, the plugin will always infer the camera's resolution settings from the SketchUp viewport. We will continue to use this mode, but before we render, let's set the camera's focal distance; click the Set Focal Distance button in the plugin toolbar.
The plugin will prompt you to select a point in the scene; select the nearest face of the near cube.
Ground Plane
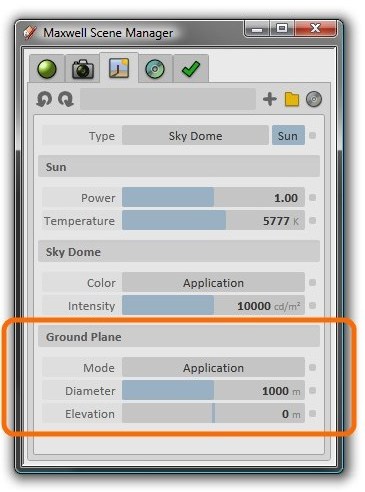
We could render now, but first, let's also enable the plugin's Ground Plane feature. Select the Environment tab in the Scene Manager and switch the Ground Plane mode from Disabled to Application.
Using this mode, the plugin will read the ground plane options from SketchUp and generate a suitable approximation in the exported Maxwell scene.
Rendering the Scene
Let's render the scene now and see how it looks. You can choose to render in the fast interactive window (Fire) or in Maxwell Render, which gives more options but is not interactive in the sense of changing the point of view.
Using FIRE
Click the Maxwell Fire button in the plugin toolbar:
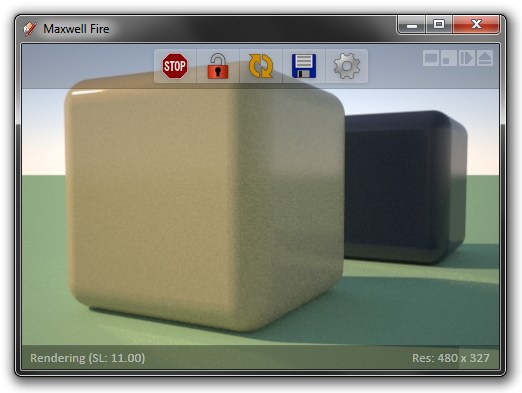
The plugin will export the SketchUp model to Maxwell Fire, and rendering will begin:
Using Maxwell Render
Click Render in the plugin's toolbar:
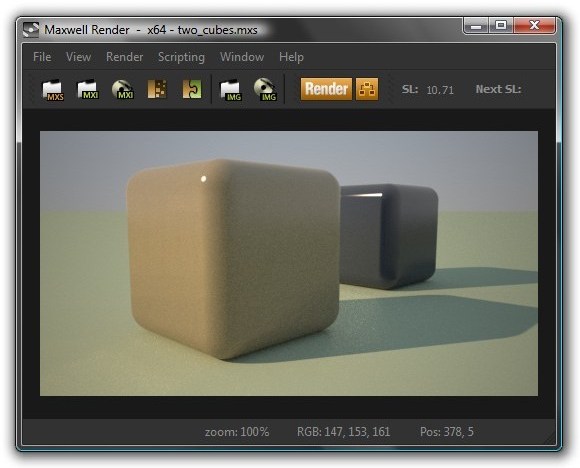
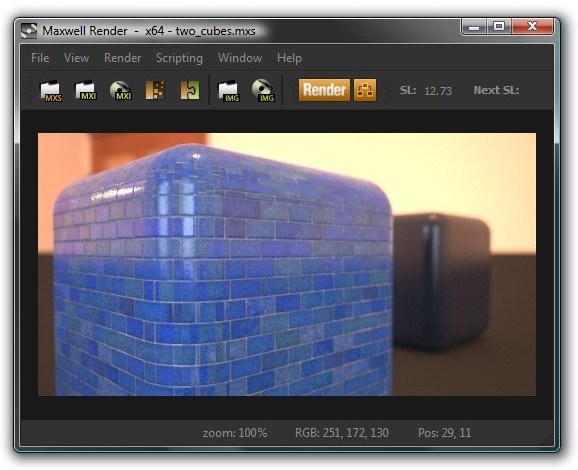
The scene will be exported to an MXS file, and Maxwell Render will be started, rendering the exported file:
Altering the Scene
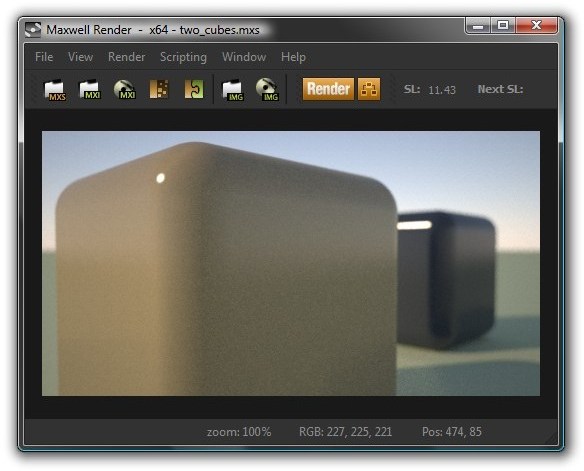
Next let's alter the scene a bit, before rendering again. Return to the Environment tab and switch the Environment Type from Sky Dome to Physical Sky. Then, since the size of the scene does not produce any noticeable DOF (depth of field) in the camera, move the camera closer to the near cube, open up the fStop to 1.2, and set the focal distance again, using a point similar to the one which was chosen previously. This produces a more dramatic composition:
Naturally, setting the focal distance to a point on the far cube would result in an image like this:
Note that even though we have altered the camera's fStop, the overall exposure of the image has not changed appreciably; this is due to the Maxwell camera's Lock Exposure to EV (Exposure Value) feature.
Materials: MXM Mode
Let's try editing our <Beige>2 material so that it uses a custom MXM file, rather than a dynamically-generated material. Select the Materials tab in the Scene Manager and then select <Beige>2 again from the material list (note, this is the same as selecting this material in SketchUp's material list).
Next, click the MXM toggle-button, which is located right next to the drop-down; when you do, the material page will spin around, revealing the material's MXM Mode interface. Next, click the Browse button to locate an MXM file; I will use tiles-29.mxm from the Arroway collection, which is included with Maxwell Render.
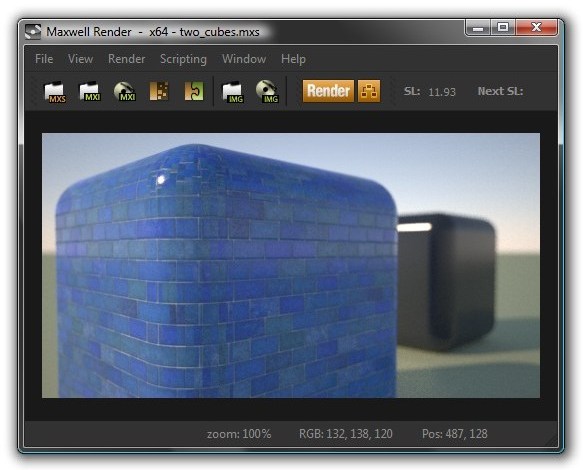
Clicking the buttons at the upper right will copy either the MXM's basic color, or its active texture (assuming it has one; this is set in Maxwell MXED) into the SketchUp material, so that we can see a representation of this MXM in the SketchUp viewport. As such, clicking the Copy Texture to SketchUp Material button, adjusting the texture size (in SketchUp) to 3 x 3 meters, setting focal distance to the near cube once more, and then clicking Render (in Maxwell Fire, the Re-export Scene [maxwell-fire.buttons.re_export_scene] button) will result in the following image:
Image Based Environment
To wrap up, let's render using an Image-based environment.
Go to the Environment tab and select Image Based from the Type drop-down. Now, browse to an HDR image in the Background channel; I will use the Dosch dh207.hdr file (this is included in a Maxwell Render Suite installation). Let's also disable the sun, so either turn off Shadows in SketchUp, or click the Sun toggle-button at the top right corner of the Scene Manager's Environment page. While we're here, let's set up a custom color for our ground plane; set Ground Plane > Mode to Custom Color and set the color to RGB [50, 50, 50].
Since there will now be less light in the scene, we will also need to adjust the camera's exposure, so switch to the Scene Manager's Camera tab and adjust EV down to 8.0. Rendering now produces an image similar to this:
