This quick guide is based on the → "Hybrido Core Fluid", → "Waterline" and → "Displacement" simulations. In the latter chapter you will also learn how to mesh the output.
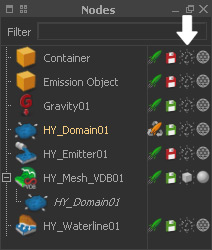
First of all, make the "HY_Domain01" node invisible to exclude its particles from the render.
Snapping
The "Waterline" particles do not consider the the mesh's displacement. As a consequence, particles and mesh surface do not match and this has to be fixed:
- Select the "HY_Waterline01" and "HY_Domain01" node.
- Hybrido shelf > Snap Foam Particles Sequence
This action triggers a graph and aligns the particles with the mesh's displacement:
- The original particles will be kept and a new emitter, named "HY_Waterline01_Snapped", is being added.
- Depending on the number of particles the snapping process will take some time.
- Once ready, delete the original "Waterline" emitter or make it invisible.
"Waterline" particles without (left) and with (right) snapping.
Render Settings
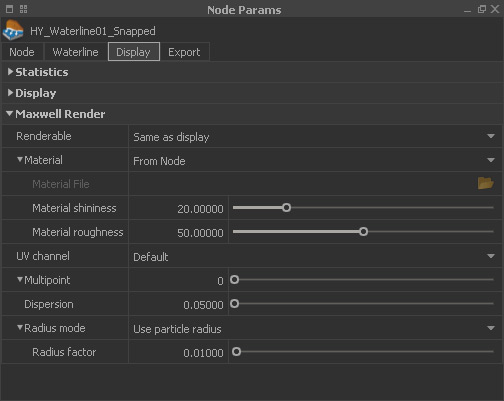
Like any other physical node, the "Waterline" emitter provides a "Maxwell Render" tab under "Node Params".
Radius
For the start, the most important thing is to specify the particles' size
- With "Radius mode" set to "Constant radius" the associated "Radius factor" is taken into account.
- Start with the default and increase or decrease the value until you get the desired look.
- If the particles have a moderate "Min | Max lifetime", e.g. 1.0 and 3.0 seconds, you can also choose ""Use particles radius".
- In this case, the radius controlled by RealFlow and the particles become smaller over time.
MultiPoint
In this simulation the number of particles is rather small. The peak was just 1.1 million and this is normally not enough to get a good render.
RealFlow's "MultiPoint" option creates new particles at render time and gives the impression of a denser foam cloud:
- "MultiPoint" is the number of extra particles per existing particles.
- "Dispersion" describes the size of a virtual sphere around a particle, where the new particles will be added.
- Start with "Dispersion" values close to "Radius factor", e.g. 0.02 to avoid a "fluffy" look.
Material
RealFlow does not provide a material editor and there is no foam shader included. If you want to mimic foam, the standard settings for "Material shininess" and "Material roughness" can be used as a starting point.
Rendering
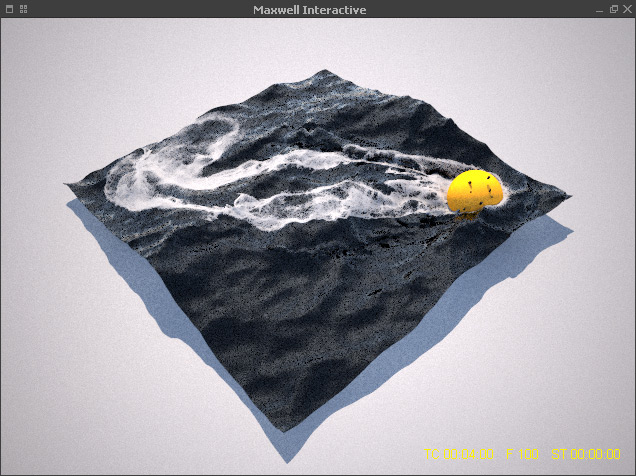
In order to see the effect of your settings go to Render shelf > FIRE to start → "Maxwell Interactive". All changes will be applied immediately and updated in realtime:
Settings like → render quality and → lighting can be adjusted as well.
The project's other elements, e.g. the spheres and the mesh provide their own "Maxwell Render" tabs and here you can → apply materials and adjust their surface properties.


