Rhino 5 - Quick Start
It is possible to use the plugin without assigning explicit Maxwell materials; the plugin will automatically convert native Rhino materials into Maxwell materials at export time, if there are no explicit Maxwell materials assigned. This is not recommended, of course, as automatically-created materials are not likely to look as good or perform as well as custom Maxwell materials.
Even if no Maxwell materials are assigned, it will probably be necessary to adjust the Maxwell camera; to do so, open the Scene Manager and click on the camera tab. The plugin creates and manages one Maxwell camera for each Rhino viewport; at any given time, the camera shown in the Scene Manager (or in the camera LCD) is the one which corresponds to the selected Rhino viewport.
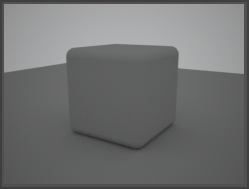
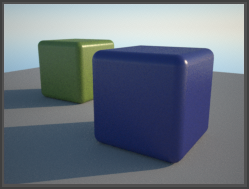
So, to begin with, let’s just render a simple one-meter cube using all default values:
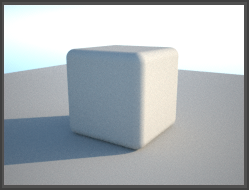
As you can see, the defaults use Maxwell’s Sky Dome, since Rhino tends to be a product-development tool. Now let’s go to the Environment tab in the Scene Manager, choose Physical Sky, check Use Sun, and render again:
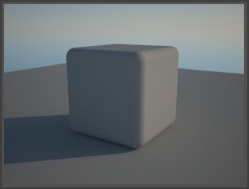
This looks to be a bit bright, so let’s switch to the camera tab. Once there, adjust the camera’s EV from the default of 13 to 15, since the scene has gotten much brighter with the Sun enabled. Rendering again, we get this result:
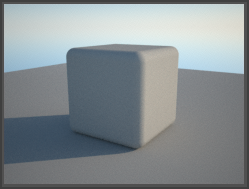
Too dark now, let’s try EV=14:
As you can see, the EV parameter makes it very easy to adjust the exposure – higher numbers are required for brighter environments, and vice-versa. There is a chart at the end of this manual with suggested EVs for different scenarios.
Now, let’s apply some Maxwell materials. The easiest way to do this is to open the Database Manager and navigate to the MXM Browser page. By default, the main Maxwell materials database folder should be selected, and you can view the MXM files in each of the directories inside that using the folder tree. To assign MXMs to geometry, simply drag them onto objects in the viewport:
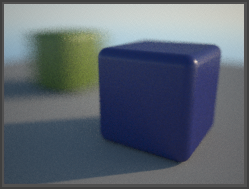
Moving back to the camera side of things, let’s create some DOF (depth-of-field) in this image. First, what is needed to do that? Probably, the scene will need to be smaller; change File > Properties > Units to inches (the cubes are one inch in size now). Also, we will want to open up the Maxwell camera’s aperture a bit, so change the fStop (it’s located directly next to EV in the camera’s Optics group) to 4.0. When ‘Lock exposure to EV’ is checked, it is possible to adjust fStop without also affecting the exposure of the image; the plugin will maintain a consistent EV, regardless of the chosen fStop. Here’s what we get after making these changes:
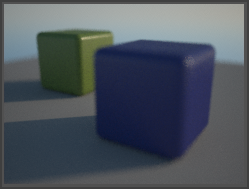
Okay, so we are seeing some DOF here, but unfortunately, none of our subjects is in focus. Let’s use a plugin tool to adjust the camera’s focal distance: in the plugin’s camera toolbar, click on the Pick camera Focal Distance button to set the focal point of the camera. First I’ll pick a point on the cube in the background:
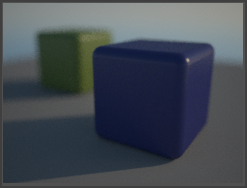
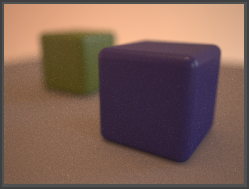
Moving the camera’s focus to the cube in the foreground, we get this:
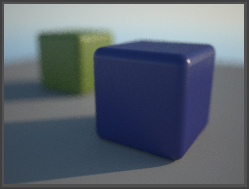
Since we have reduced the size of the scene the exposure has darkened up somewhat; to remedy this, let’s adjust the camera’s EV back down to 13. So, with EV=13, fStop=4, and the focus on the foreground cube, we end up with this image:
So far, we have only adjusted the camera, changed the render environment, and assigned two materials. Let’s try using the camera’s Z-Clip planes to section the geometry; here is the result using 0.06m for the near plane and 0.08 for the far plane:
Now, let’s try rendering using a Region; click the Region Render button in the plugin’s Rendering toolbar and click-drag to select the rendered rectangle:
Moving on, let’s disable Z-Clipping and try using some of Maxwell’s Object Properties flags. Open Rhino’s Object Properties window, select the foreground cube, select Maxwell Object Properties from the pull-down, and enable the ‘Hide from camera’ checkbox:
All of the ‘Hide from X’ settings in the Object Properties group are fairly self-explanatory; just consult the regular Maxwell Render manual for more details on what they are used for. Besides for those properties, the Object Properties window also has options for controlling Motion Blur. There are two types of motion-blur: Linear and Full-Range. For objects which will only move in a linear path, you should choose Linear motion-blur, since it takes much less memory than Full-Range (Full-Range has to store a duplicate set of mesh coordinates for two object-positions, for all objects in question). To create blur, move both cubes to where they would be located in the frame before the one you will be rendering. Then, select the cubes and, in the Object Properties window, enable Linear Motion Only and click Reset Initial Positions button to store the positions. Then, move the cubes to the position where they should be in the frame you are rendering and click Render:
Now, select the foreground cube, in Object Properties, set motion-blur to None, and render the scene again:
Now, to switch gears a little, let’s change from using Physical Sky and Sun, to using an Image Based Environment. Go to the Scene Manager’s Environment tab, un-check the ‘Sun’ checkbox, and choose Image Based from the Type drop-down. The interface will change to show you settings for Image Based Environment. By default, the scene will have the ‘Use Background for all Channels’ option enabled – you only need to un-check this if you want to use different HDR images in the Background, Illumination, Reflection, and Refraction Channels. Many times that is not necessary though, and you can just let the plugin copy the settings from the Background Channel into the others at MXS-export time.
So, click on the browse button in the Background Channel group to select a HDR image to use. Once you do, the Background Channel group will expand, showing the Scale, Offset, and Intensity parameters. Usually, you may not need to change these values. What you may want to do though is to click the Enable Background Channel button in the plugin’s Environments toolbar – this will allow you to preview the HDR image in the Rhino viewport.
Here is how the scene renders (after disabling motion blur for the background cube) using the Image Based Environment:
It was also necessary to adjust the EV down to something more like 9, since there is less light in this scenario. To wrap things up, let’s texture one of these objects using the Maxwell material that is applied to it.
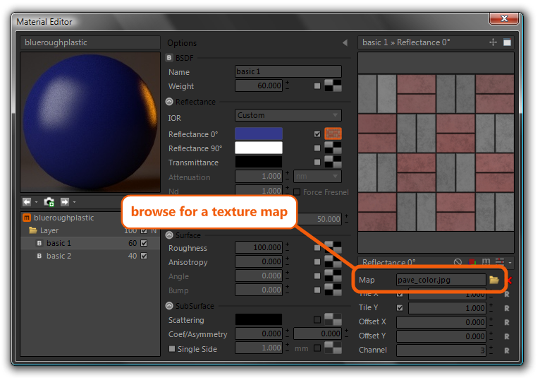
First, we should open the Material Editor, select the material, select the top node in the layers tree, and switch the material’s MXM Linking to Embedded, if it is not already. The reason for doing this is because when a material is created by dragging it from the MXM Browser, it may be set to Link the MXM file which was dragged – this depends on the value of the plugin option MXM Linking, under material Defaults. As such, any changes we make to that material in Rhino will be lost next time we open the document, because the material will automatically update itself using the MXM file it links to. We are going to add a texture, so we do not want this.
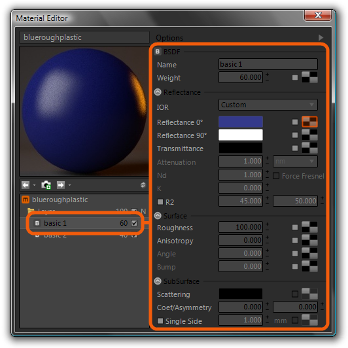
After making sure the material uses Embedded MXM Linking, select one of the BSDF layers in the material:
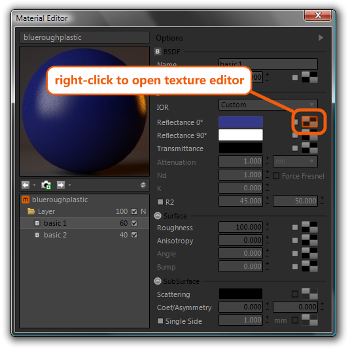
Now, right-click the texture button (the button with the gray/black checker pattern) for the Reflectance 0 channel and in the texture editor panel which is shown, browse for a map to use in this channel.
As a shortcut, it is also possible to browse directly for an image, without opening the texture editor pane, by double-clicking on the desired texture button.
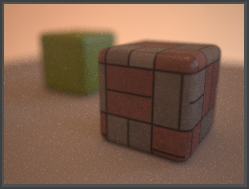
Next, left-click the Bump texture button (left-click it because the texture editor is already open), choose a map, and then set the Bump value to 5. Click the ‘Refresh Preview’ button, located to the lower-right of the material’s preview image to refresh the preview. Rendering with the newly-textured material results in this image:
This wraps up the plugin Quick-Start.
