In simulations with two more more fluids or emitters RealFlow | Cinema 4D tracks the distances between the particles and creates a weight map. These weight maps can be used to render a blending effect for differently coloured fluids. The workflow is pretty much the same as with → channel vertex maps, but there are a few things to consider.
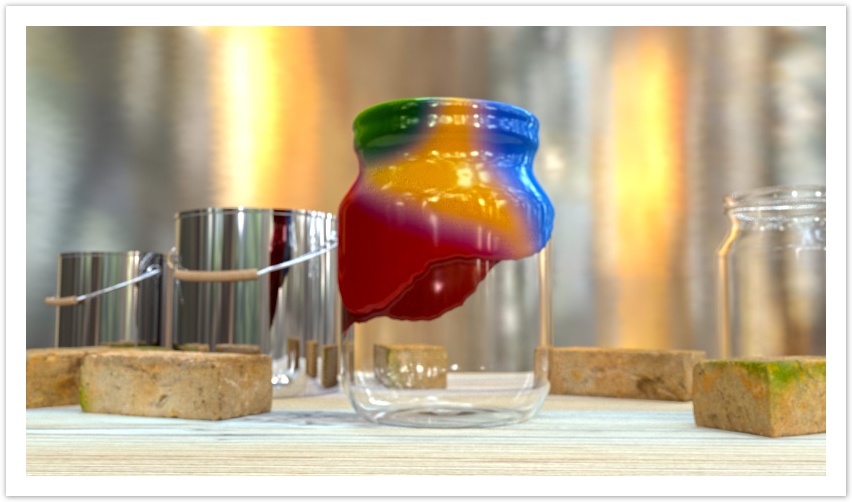
A still from a simulation with four fluids mixing while running down a glass jar.
Let's start with how to blend two particle sources – you can combine use up to nine emitters/fluids and extract weight maps per mesh node:
- Create a simulation with two fluids or emitters – there is nothing special you have to consider, but the particles should mix at some point in time.
- Add a "Mesher", go to → Mesher > Channels, and enable the "Weight" option.
- Choose, whether the weight vertex maps should be created from the fluids or the emitters.
- If you have two (or more) fluids then both containers have to be meshed together!
- Create the mesh as usual.
...
- Create two materials and decide which one should be the base and top colour.
- Apply the base material first, then the top colour.
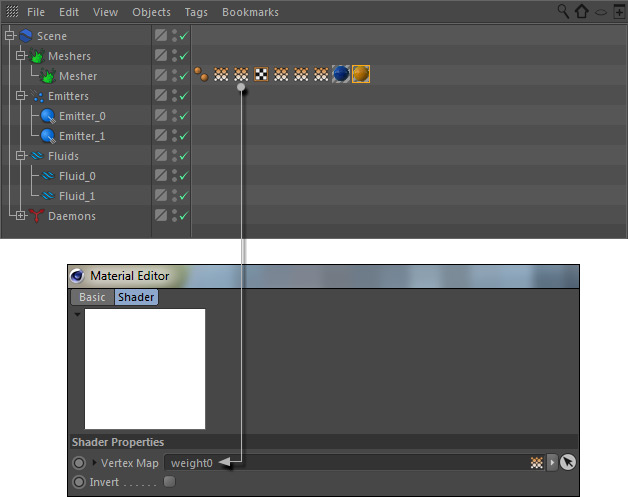
- Open the top colour and create an "Alpha" channel. Add Alpha > Texture > Effects > Vertex Map, and click on the white thumbnail.
- Drag one of the weight vertex maps to the empty slot.
Annotations
As mentioned in the introduction there are some things to consider with weight maps:
- The maximum number of weight vertex maps is 9.
- RealFlow | Cinema 4D's meshing engine is not responsible for the colour blending effect itself – it only provides an Alpha/vertex map.
- When you work with more than two fluids/emitters then the base colour must not have a vertex map applied.
...
Here is the difference between the RGB model, used in CGI/DCC, and CMYK colours, used for printing and painting:


