...
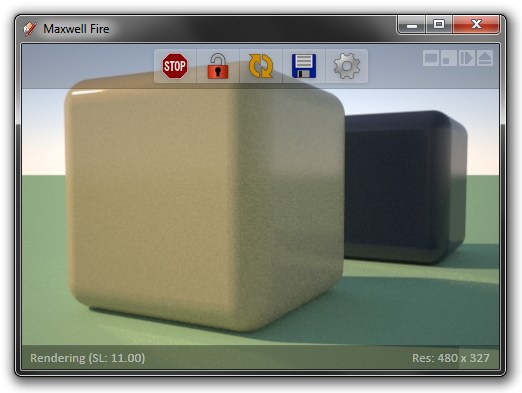
Let's render the scene now and see how it looks. The method of rendering depends on the plugin versionYou can choose to render in the fast interactive window (Fire) or in Maxwell Render, which gives more options but is not interactive in the sense of changing the point of view.
...
Using FIRE
Click the Maxwell Fire button in the plugin toolbar:
...
The plugin will export the SketchUp model to Maxwell Fire, and rendering will begin:
Using Maxwell Render
...
Click Render in the plugin's toolbar:
...
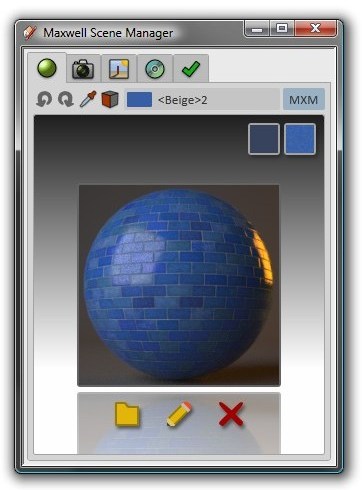
Next, click the MXM toggle-button, which is located right next to the drop-down; when you do, the material page will spin around, revealing the material's MXM Mode interface. Next, click the Browse button to locate an MXM file; I will use tiles-29.mxm from the Arroway collection, which is included with Maxwell Render Suite (RS).
Clicking the buttons at the upper right will copy either the MXM's basic color, or its active texture (assuming it has one; this is set in Maxwell MXED) into the SketchUp material, so that we can see a representation of this MXM in the SketchUp viewport. As such, clicking the Copy Texture to SketchUp Material button, adjusting the texture size (in SketchUp) to 3 x 3 meters, setting focal distance to the near cube once more, and then clicking Render (in Maxwell Fire, the Re-export Scene [maxwell-fire.buttons.re_export_scene] button) will result in the following image:
...


