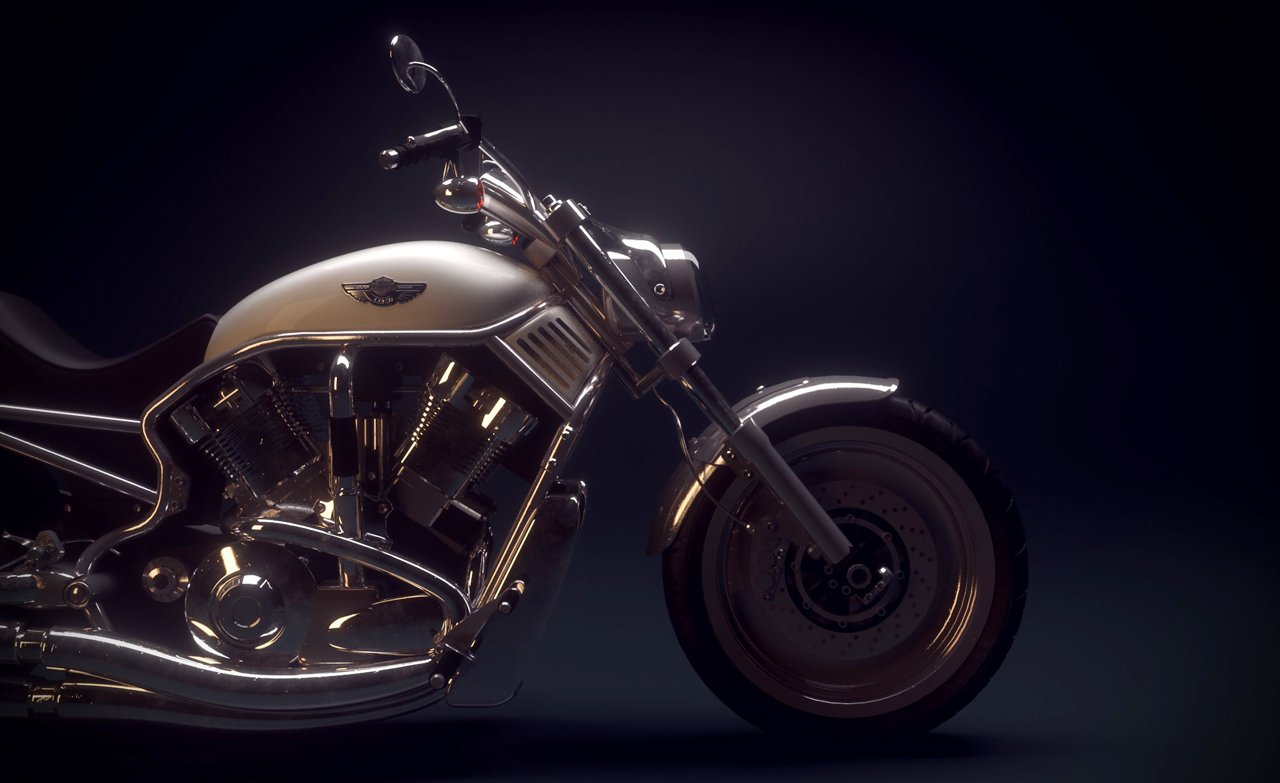
Image courtesy of Hossein Mirfattah
...
Below you can find a few more tips on things to avoid in your scene setups and materials to keep render times low and avoid excessive noise.
Emitters Emitters
| Expand |
|---|
Geometry: Make sure your emitting surfaces are as low-polygons as possible. Usually a single sided polygon will suffice. Not enclosed: If possible, do not completely enclose your emitters inside a dielectric object. All light that is emitted through the dielectric object is considered caustic light and will take longer to render. Not intersecting: Make sure your emitter is not intersecting other geometry. In most cases this will not be a problem but it may add to the render time and produce strange results in the lighting. Regular geometry can intersect other geometry. Strength: Keep your emitters at real world values. If your render is turning out too dark, don´t raise the power to several thousands of watts as that will break the realism and can also introduce more noise in the render. Instead, you should control the exposure by using the camera exposure settings (f-Stop, Shutter speed, ISO). |
MultiLight
| Expand |
|---|
Nr of ML sliders: the more separate emitter sliders you have, the more RAM Maxwell needs as each light channel must be stored separately while rendering. If you do not necessarily need separate emitter control for all emitters you can "merge" them by applying the same emitter material to the geometries. Color ML: This option will require more RAM than Intensity-only ML, because each RGB channel must be stored separately while rendering. Avoid this mode if you don't need to also change the color of the emitters while rendering. |
Saturated/bright materials (very important)
| Expand |
|---|
| Do not use very white or fully saturated materials in your scene. For example, a completely white (255, 255, 255) material will take a very long time to clear and will also make the contrast in the image disappear. Also avoid completely saturated colors such as pure red (255, 0, 0). Pure white or pure saturated materials do not exist in real life so it is better to decrease the saturation a bit. For a white wall, around RGB 220, 220, 220, which is the albedo of white paper, is sufficient. See the page Realistic material reflectance for more info. |
AGS (Architectural Glass Solution)
| Expand |
|---|
| For interior renders where window glass reflections are necessary, use the AGS glass material for the windows instead of real glass. This will create the reflections but will not produce caustics, thus speeding up the rendering. You can find more about AGS glass materials on the Material examples - How To section. |
Displacement
| Expand |
|---|
Deciding between the two displacement methods available in Maxwell Render (on-the-fly and pretesselated), you should take into consideration the following:
|
Materials
| Expand |
|---|
There are a few important things to keep in mind to create efficient materials (including the satured/bright materials info above):
|
Render Channels
| Expand |
|---|
Some render channels do take longer to render than others - especially the shadow pass channel because it takes into account the full GI of the scene (including for ex. reflected caustics that brighten up parts of the shadow). Other channels such as motion vector, normals, matID, objID render quickly but still take away from the computing power for the main render channel. For this reason, it is recommended to turn off these channels while setting up and tweaking the lighting/materials in the scene. |
Direct Light vs Indirect Light
| Expand |
|---|
Scenes with a higher proportion of indirect light (bounced light) than from direct light (light coming directly from the environment or emitters in its first bounce), typically the case of interior scenes, are usually one of the hardest scenarios for any render engine, as each ray takes longer to find an emitter so the image takes also longer to get clean. But fortunately this is an issue that real photographers have also to deal with when photographing interiors, and there are several interesting photography techniques we can learn from them that can also be applied when working with Maxwell to speed up the renders. Take a look at /wiki/spaces/tuts/pages/5493998 if you have to deal with indoor renders. |
...
