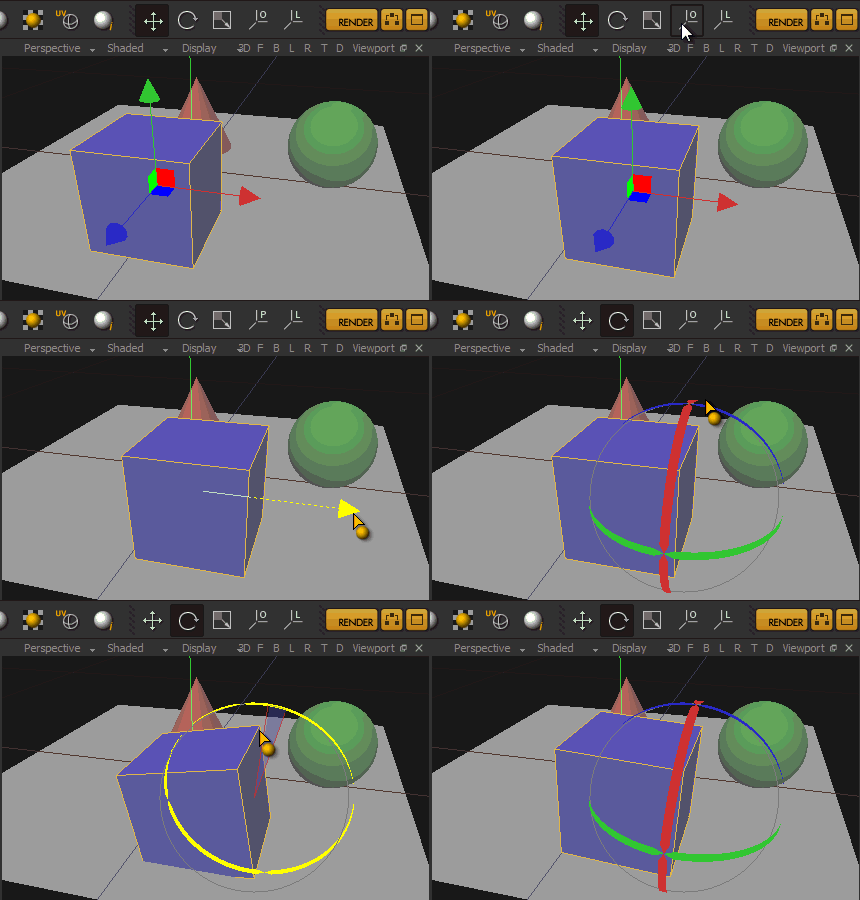
All the objects and groups of objects in your scene will appear in the Attributes Panel. Please see that page for more details on all its functionality.
...
To be able to select objects in the viewport you have to be in object selection mode:
...
The Object Selection Mode (left most button)
When you select one or more objects, the Attributes Panel: Object becomes active allowing you to change different transform/render/UV settings for the selection. By selecting more than one object you can change the settings for all of them at the same time.
...
| Tip |
|---|
If the transform gizmo appears too small or big you can increase/decrease its size by pressing Alt and the numeric plus/minus keys on your keyboard |
| Section |
| Column |
Changing the pivot of an object
...
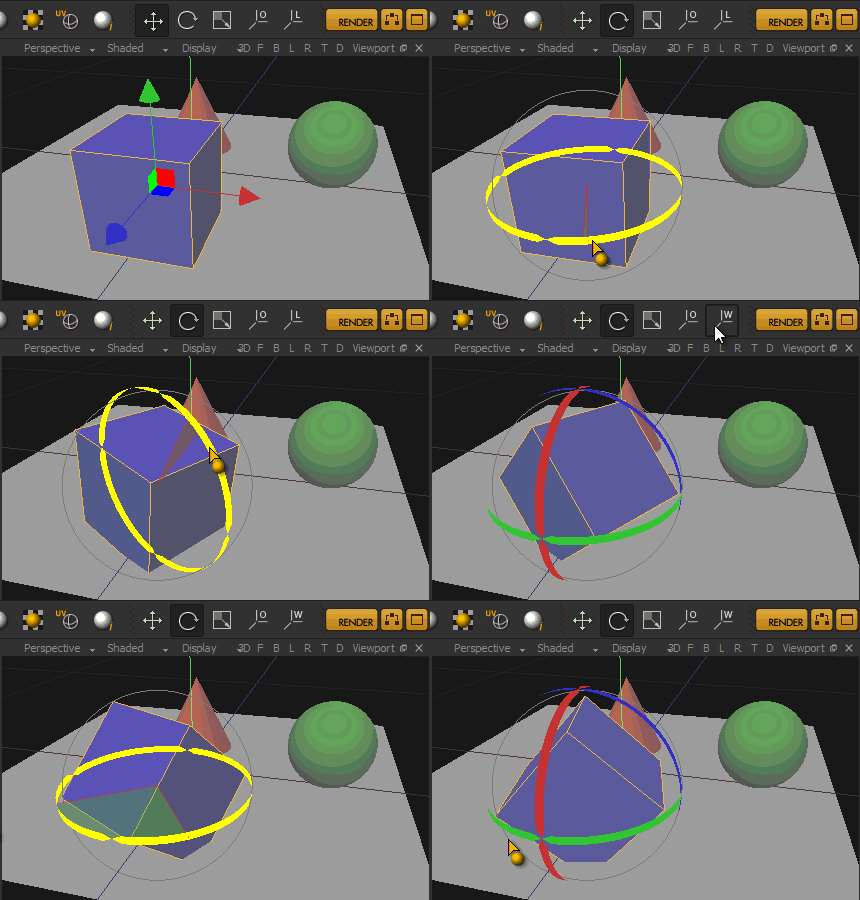
Switching between local and world mode.
Center and Reset the objects/groups pivot
...
- You can better organize your scene by elements that belong together
- You can apply a material to a group directly and its children will inherit the material. If you want to keep the material assignment that children objects already have, but apply a material only to objects that have no material applied, hold Shift while drag & dropping a material from the Materials List Panel on top of a Group.
Instances
Creating an instance
Select an object, right click in the Objects List panel and choose Instance. The instance will be listed in the Objects List and highlighted with a blue icon.
...
Select one or more instances in the Objects List and press the Delete key or right click and choose Remove like any regular object.
Transforming instances
Instances of an object can have a different position/scale/rotation that the original object and different among them. Instances are transformed in Studio just like regular objects, so select the instance to transform and use the transform gizmos or the numerical fields to move, rotate or scale it.
...


