| Widget Connector | ||||||||||
|---|---|---|---|---|---|---|---|---|---|---|
|
Video courtesy of Benjamin Brosdau - PURE Render, http://www.purerender.com
"Multilight is unbelievable"
Craig Williams
Becker Morgan Group, Inc.
www.beckermorgan.com
The Multilight™ feature removes the need to re-render images when light changes are required. Multilight™ allows the user to change intensities of individual lights and multiple scene emitters during and after the rendering process (including Physical Sky and HDR Environment Lighting), eliminating the need to run various renders to tweak the lighting set up. A recent addition to this is Color Multilight, which enables users to edit the color of emitters in real time. The adjustments can be keyframed and animated over time, and a sequence of images can be saved which can then be merged into a video using video editing software. Users can save different images of the same scene under different lighting conditions or make lighting animations from only a single render.
These features give users infinite possibilities saving numerous different lighting versions of the same scene without rendering it over and over again. The Multilight feature is the first of its kind in a commercial render engine and it is extremely powerful.
How it works
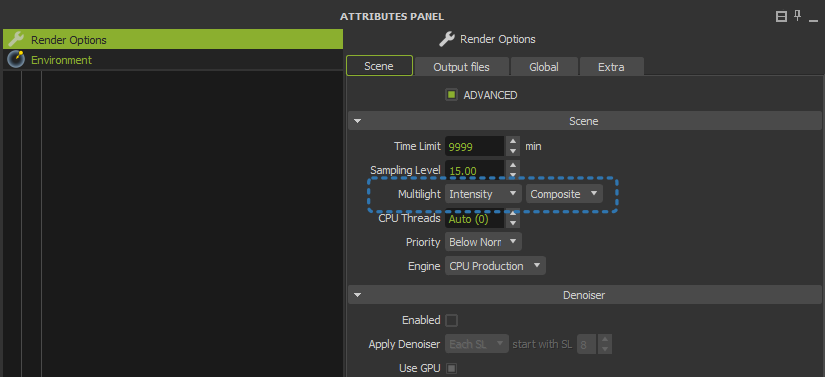
You can find it in the Render Options attributes > Scene tab.
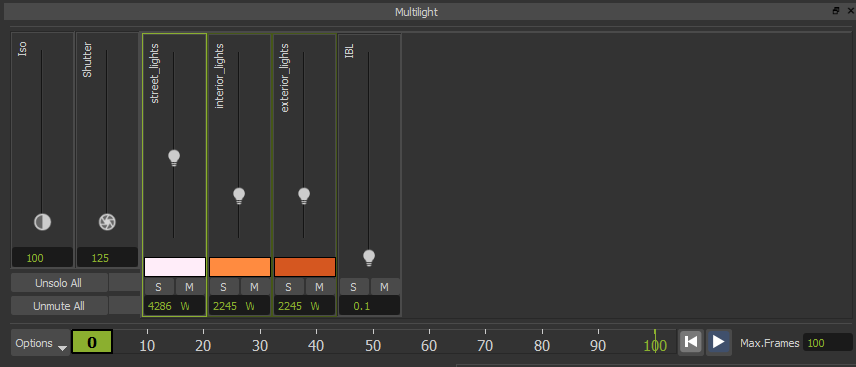
Once you enable the Multilight feature in Render Options, you will get an independent slider to control each emitter, giving you precise control over your lights mix. Instead of having to re-launch the render when a lamp needs some adjustment, you can just adjust its intensity (or intensity and color in the Color Multilight mode) just by moving its slider up and down, to achieve the exact lighting mood you want during the render or even after the render has stopped. The sliders units refers to the actual emitters units you used in your scene.
| Info |
|---|
|
It is important to note that the Multilight feature doesn't increase render time. As each emitter contribution is stored separately inside your MXI file (each emitter in a separate buffer), the more separate emitter materials you have in your scene, the larger the MXI file and the more RAM needed, but there is no impact on render time.
Multilight in action: A scene with five emitters being adjusted in real-time using its sliders
Adjustments during the render or even after the render has stopped
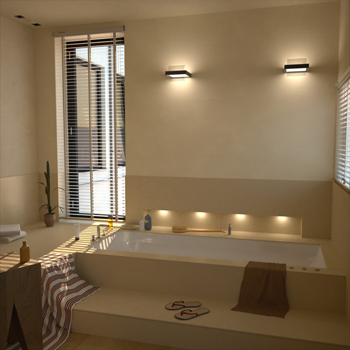
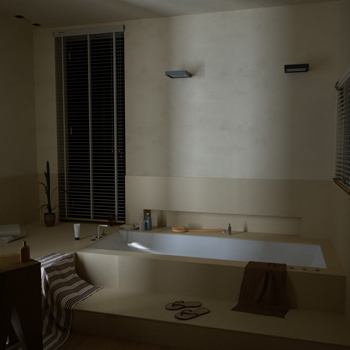
As the lighting information is being stored separately inside the MXI file, as long as you preserve the MXI file, you will be able to open that MXI file in Maxwell, re-adjust the lights as far you wish, and save the new adjusted image. For example you can export a day and night time image from the same render, simply by muting the Physical Sky slider.
Turning on the lamps and exterior lighting.
Turning off the lamps and Environment lighting and leaving just an indirect light.
Benjamin Brosdau - PURE Render, www.purerender.com
Export images of individual lights
Multilight can even export your render as individual emitters (one independent tiff, tga, jpg... per each emitter) for postproduction purposes, or saving only the composed render. To do this, simply choose between the Separated or Composite mode in the Render Options (Multilight section) before starting the render.
Apply Changes to Scene
After adjusting the light intensities using Multilight, you can revert those new values back to the scene, preserving those new values for future renders.
Multiple sliders edition
It is also possible to select several sliders and edit them at the same time. Use Ctrl + click to add or remove sliders to the selection and Ctrl + Shift + click to select a range of sliders to edit them at once (use the Cmd key on OSX). Once several sliders are selected you can move them all at the same time or even type a numerical value on the input filed and it will be propagated to all the selected emitters.
Sliders can be sorted on the Multilight panel by their Name, Type or intensity (on the Options>View menu)


