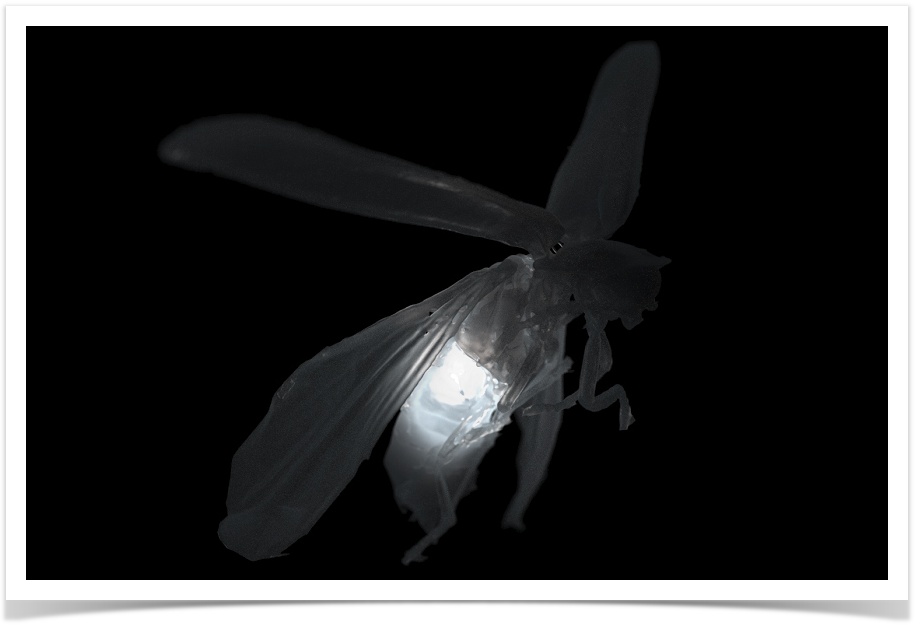
Firefly Lamp by Harry Allen Studio, Visualization: Matthew Spencer
Emitters in Maxwell Render are part of the material system. An emitter material should must be applied to the geometry you want to emit light from. The emitter geometry needs an actual surface area; it is not possible to apply an emitter material to a Null object for example, however many of our plugins automatically convert the native applications spotlights into Spot emitters.
You can create a geometry (a bulb, a tube, or just a simple plane), and apply a Maxwell material and add an Emitter component to it. You now have an object that is lighting your scene. To optimize your scene, try to use low-polygon geometry for your emitters. A single polygon plane will do in most cases.
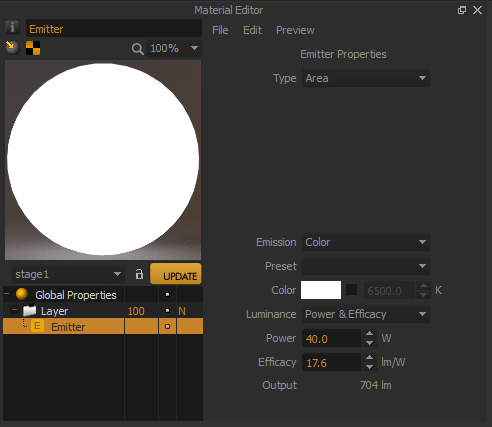
Emitter Materials are defined in a very intuitive way, using real world values like watts or efficacy.
| Note |
|---|
Maxwell Render will use the normals direction of the geometry to decide in which direction to emit light from the geometry. Make sure the normals of the emitting geometry is pointing in the direction you intend. If your emitters don't seem to be emitting any light in your scene - the normals direction should be the first thing to check. You can flip the normals in your 3D application if the direction is wrong, or in Maxwell Studio, select the object, go to the Object parameters panel (Appearance section) and click the Flip button. |
Emitter types
Your emitter can be defined in three different ways: Custom, Temperature and HDR Image Area, IES, Spot.
Emitter types
...
Area
This option allows you to set the Color and the Intensity of your light separately, as well as use an HDR image as the emitter. Color can be set in RBG, HSV or XYZ scales, or correlated to a Kelvin value. Intensity (or Luminance) can be set in a number of different ways (see the Custom Area Emitters page). You can also specify
IES
Specify an IES/ Eulumdat file to light your scene, using measured lighting data for different lighting fixtures. These files are provided by many major lighting manufacturers. See the IES emitters page for details.
Temperature
In Kelvin degrees. In the real world, the temperature of the light source determines both the color and its intensity. Colder temperatures (near 3000ºK) emit reddish, low-intensity light, while higher temperatures (near 9000ºK) emit blue, bright light. This control will allow you to adjust both the intensity and the color of your emitter with one single slider.
HDR Image
You can use a high dynamic range image which will emit light from the emitter surface, using images in HDR, EXR or MXI formats.
...
Spot
This emitter type mimics a typical spotlight, with controls for the cone angle, falloff and also lets you project images, much like a slide projector, and also use image masks as gobos etc. See the Spot emitters page for details.
| Note |
|---|
In order to unify the look of this documentation, the screenshots in this chapter were screenshot was taken from the Maxwell Studio interface, so they may have a . The layout may be slightly different look or position in other 3D platformsin the plugin of your 3D application. |
Recommended geometry for emitters
It is possible to apply an emitter material to any object in Maxwell, although for general purpose lighting it is recommended to use lower resolution geometry for more efficient rendering. For example a single polygon plane will be enough to mimic a common studio "softbox", or a low polygon sphere is enough to mimic a lightbulb that sends out the light in all directions. Using high polygon geometry as emitters is not a problem, but render times will be slightly less efficient.


