This section describes how to add different light types to your scene like area lights, spotlights, IES, projectors, etc. If you are looking for information about environment lights, like the Physical Sky, Constant Dome or Image Based Lighting (HDR), please check this section: Maxwell Environment.
There are two ways of adding lights to your Rhino scene:
...
The following table describes the different modes available for a Point light:
Point light | |||||
|---|---|---|---|---|---|
By Rhino  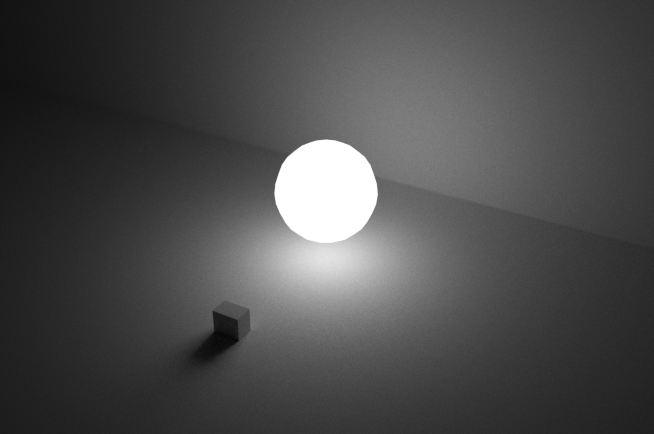 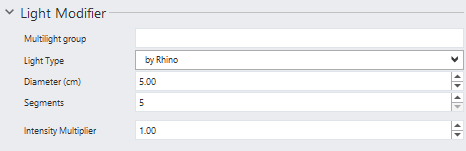 | As Maxwell area light.  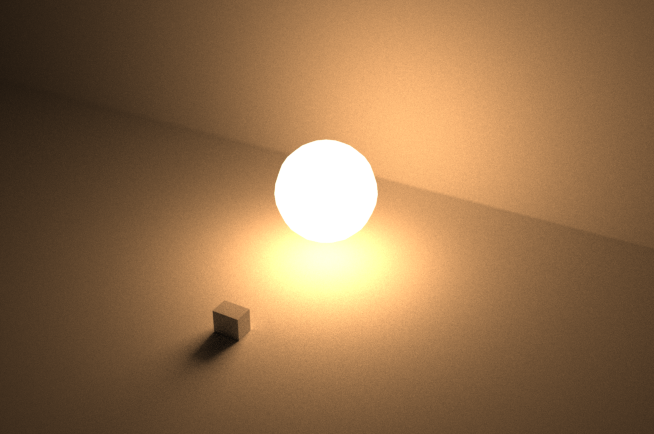 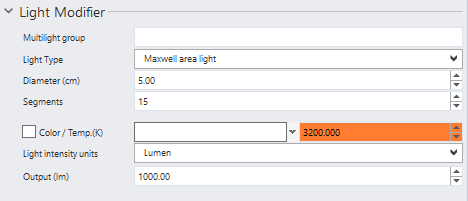 | As Maxwell HDRI light.  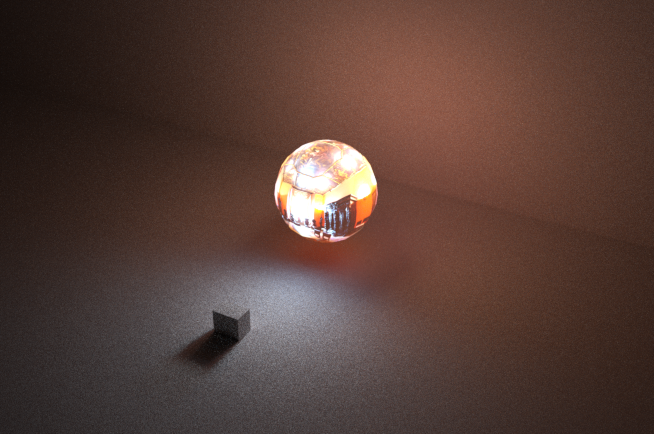 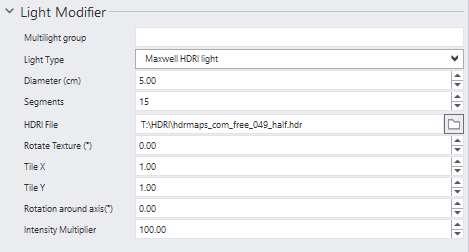 | |||
Multilight group | In this box you can type any text you like. All the lights sharing the same group name will be handled in Multilight with the same common slider that will work as a multiplier of the units of each individual light. | ||||
Light Type | Here you can choose how the plugin will handle the light. By Rhino is the default mode, but you can also turn it into a Maxwell area light to be able to set the color or the units with more precision or a Maxwell HDRI light to be able to emit light using an image (it is strongly suggested to use 32-bit images to get a richer light). | ||||
Diameter (cm) | It lets you set the diameter of the sphere in centimeters. | ||||
Segments | It lets you make the geometry of the sphere more or less detailed. Please, note that the emitters with fewer polygons render faster so, if the sphere is not going to be visible, it’s better to use smaller numbers. | ||||
Intensity Multiplier | It lets you increase or decrease the light intensity. 1 is translated to 100 cd. | Color / Temp.(K) | If the checkbox is active, it will use the custom color chip. If it’s deactivated, the plugin will use the K temperature color box on the right side. | HDRI File | Here you can set the file that will be used to emit light. It is strongly suggested to use 32-bit images, although this is not mandatory and you can load LDR images too. |
Light intensity units | It lets you choose between Power & Efficacy, Lumen, Lux, Candela and Luminance | Rotate Texture (º) | It rotates the texture in degrees in the UV space. Normally, the texture will be mapped to the sphere with a spherical map with one pole at the top and one at the bottom. | ||
Output | Here you can set the intensity value of the light. It may differ depending on the unit chosen above. | Tile X / Tile Y | Here you can set the times the texture is repeated horizontally (X) or vertically (Y). | ||
Rotation around axis (º) | This rotates the texture around the vertical axis of the sphere as rotating the point light doesn’t change the orientation of the texture. | ||||
Intensity Multiplier | It lets you increase or decrease the amount of light emitted by the texture. | ||||
...
Rectangular light | |||||
|---|---|---|---|---|---|
By Rhino 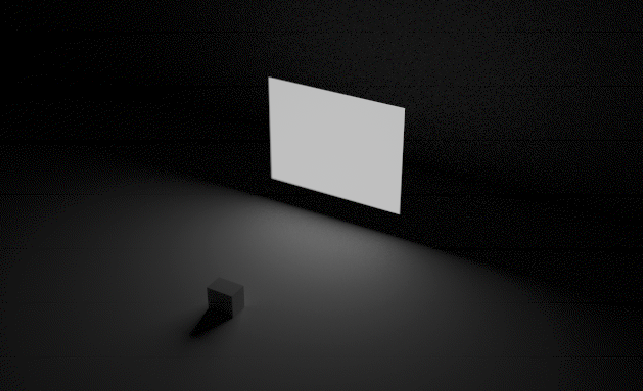 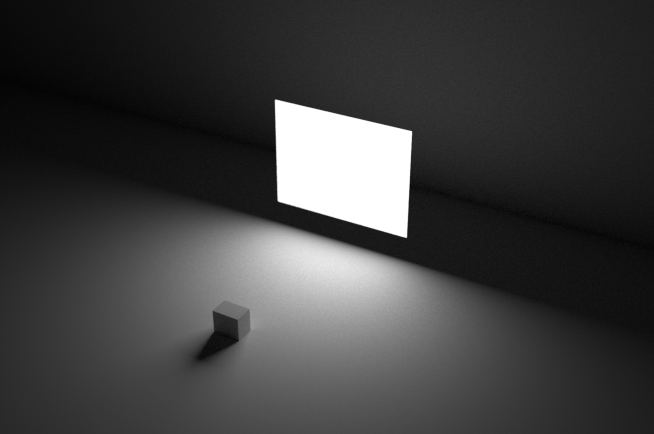 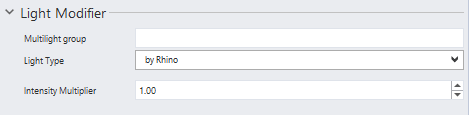 | As Maxwell area light. 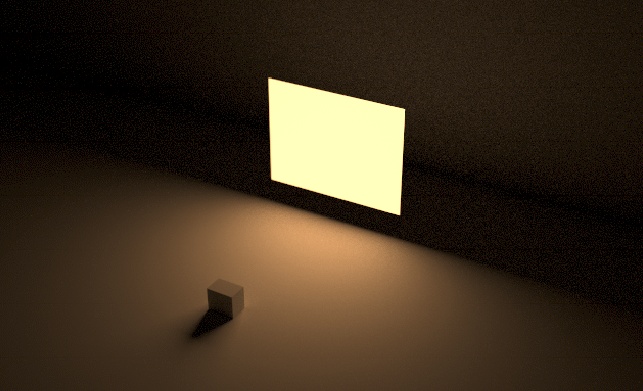 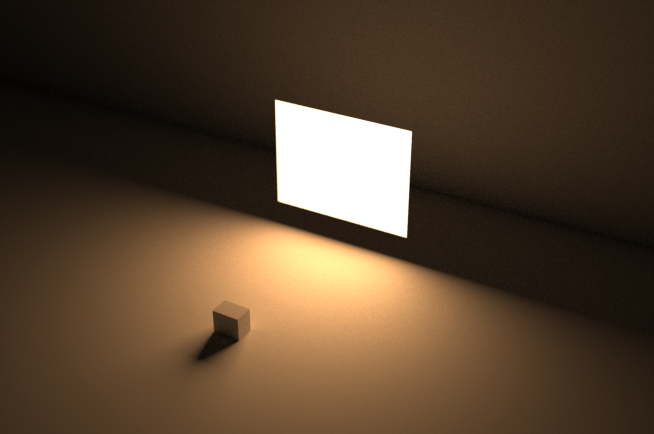 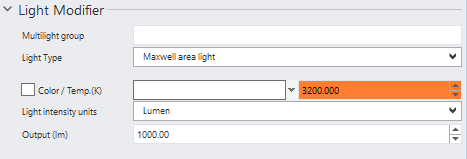 | As Maxwell HDRI light. 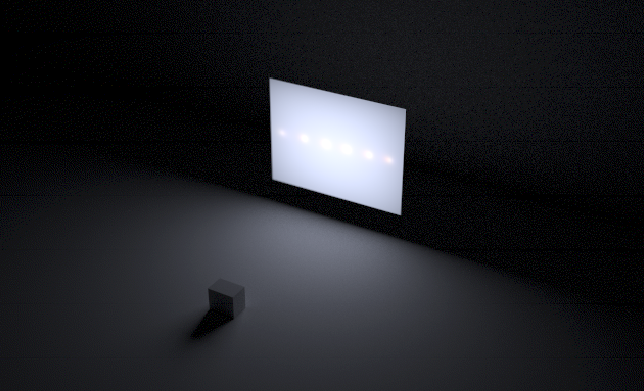 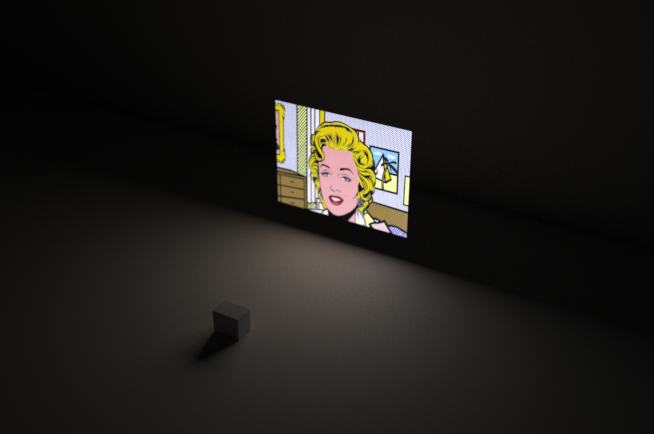  | |||
Multilight group | In this box you can type any text you like. All the lights sharing the same group name will be handled in Multilight with the same common slider that will work as a multiplier of the units of each individual light. | ||||
Light Type | Here you can choose how the plugin will handle the light. By Rhino is the default mode, but you can also turn it into a Maxwell area light to be able to set the color or the units with more precision or a Maxwell HDRI light to be able to emit light using an image (it is strongly suggested to use 32-bit images to get a richer light). | ||||
Intensity Multiplier | It lets you increase or decrease the light intensity. 1 is translated to 100 cd. | Color / Temp.(K) | If the checkbox is active, it will use the custom color chip. If it’s deactivated, the plugin will use the K temperature color box on the right side. | HDRI File | Here you can set the file that will be used to emit light. It is strongly suggested to use 32-bit images, although this is not mandatory and you can load LDR images too. |
Light intensity units | It lets you choose between Power & Efficacy, Lumen, Lux, Candela and Luminance | Rotate Texture (º) | It rotates the texture in degrees in the UV space. Normally, the texture will be mapped to the rectangle with a planar map so it fills the whole area, taking the first line you draw when creating the line as the bottom side of the texture. | ||
Output | Here you can set the intensity value of the light. It may differ depending on the unit chosen above. | Tile X / Tile Y | Here you can set the times the texture is repeated horizontally (X) or vertically (Y). | ||
Intensity Multiplier | It lets you increase or decrease the amount of light emitted by the texture. | ||||
...
The plugin will translate this light into a cylinder of the same length and diameter as the linear light gizmo (its maximum diameter is 2.5cm). The cylinder’s base has 8 sides (so it’s actually a prism).
Linear light | |||||
|---|---|---|---|---|---|
By Rhino  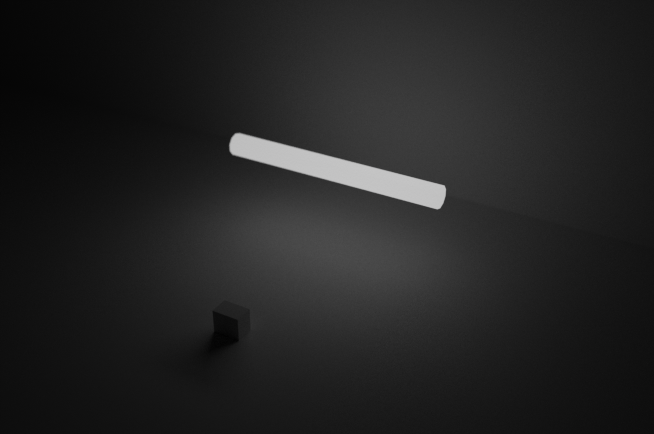 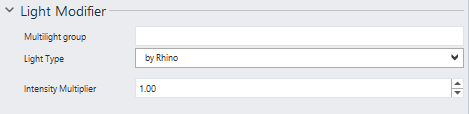 | As Maxwell area light. 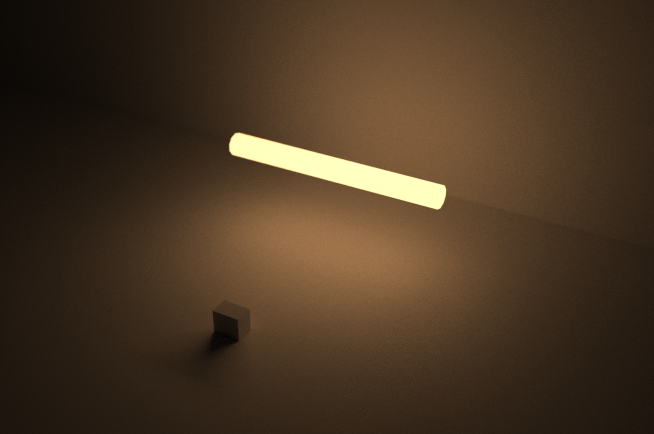  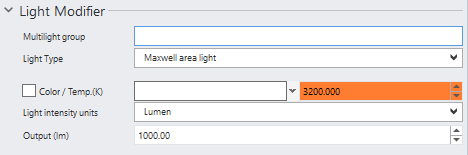 | As Maxwell HDRI light.  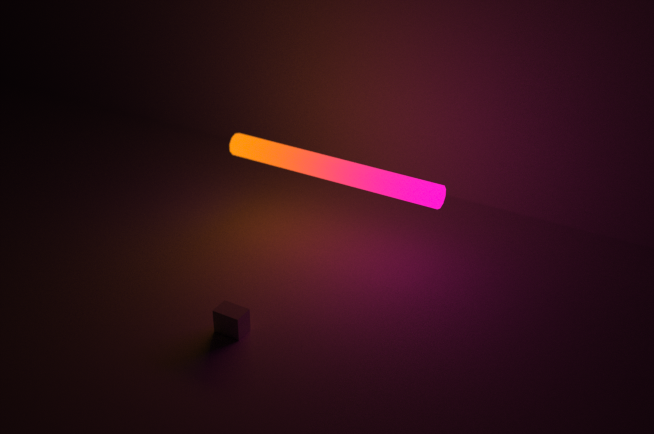 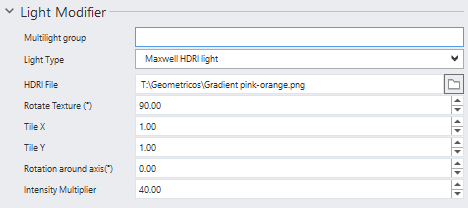 | |||
Multilight group | In this box you can type any text you like. All the lights sharing the same group name will be handled in Multilight with the same common slider that will work as a multiplier of the units of each individual light. | ||||
Light Type | Here you can choose how the plugin will handle the light. By Rhino is the default mode, but you can also turn it into a Maxwell area light to be able to set the color or the units with more precision or a Maxwell HDRI light to be able to emit light using an image (it is strongly suggested to use 32-bit images to get a richer light). | ||||
Intensity Multiplier | It lets you increase or decrease the light intensity. 1 is translated to 100 cd. | Color / Temp.(K) | If the checkbox is active, it will use the custom color chip. If it’s deactivated, the plugin will use the K temperature color box on the right side. | HDRI File | Here you can set the file that will be used to emit light. It is strongly suggested to use 32-bit images, although this is not mandatory and you can load LDR images too. |
Light intensity units | It lets you choose between Power & Efficacy, Lumen, Lux, Candela and Luminance | Rotate Texture (º) | It rotates the texture in degrees in the UV space. Normally, the texture will be mapped to the rectangle with a planar map so it fills the whole area, taking the first line you draw when creating the line as the bottom side of the texture. | ||
Output | Here you can set the intensity value of the light. It may differ depending on the unit chosen above. | Tile X / Tile Y | Here you can set the times the texture is repeated horizontally (X) or vertically (Y). | ||
Rotation around axis (º) | This rotates the texture around the axis of the cylinder. | ||||
Intensity Multiplier | It lets you increase or decrease the amount of light emitted by the texture. | ||||
...
The plugin can translate this light into a Maxwell spot and projector light or into a Maxwell IES light.
Spotlight | |||||
|---|---|---|---|---|---|
By Rhino 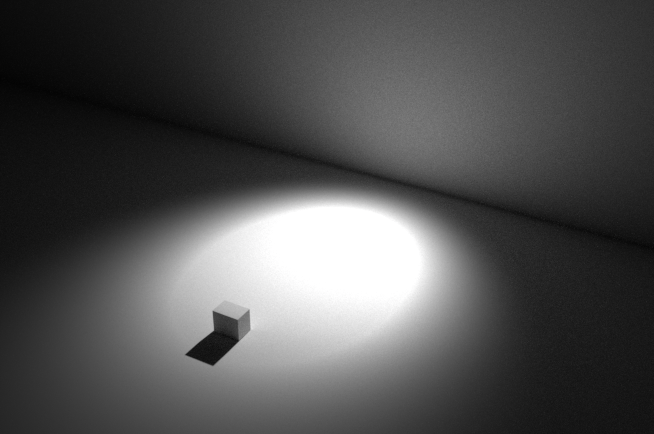  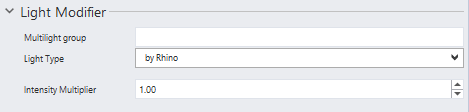 | As a Maxwell spot and projector light. 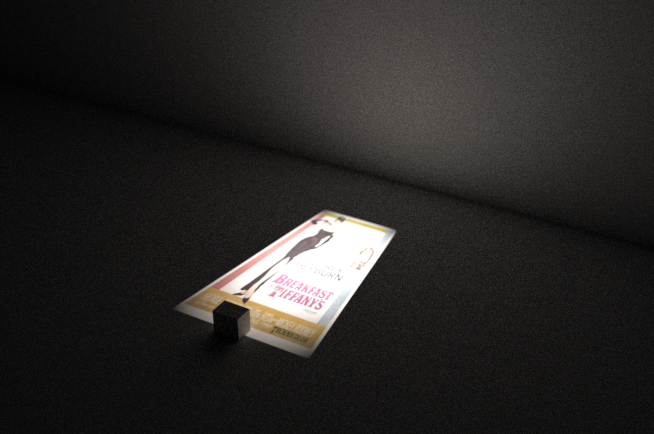  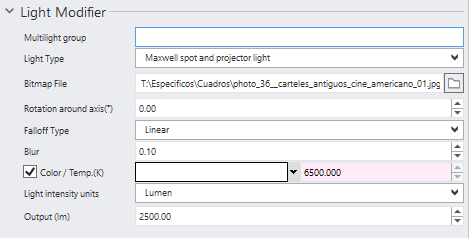 | As a Maxwell IES light.    | |||
Multilight group | In this box you can type any text you like. All the lights sharing the same group name will be handled in Multilight with the same common slider that will work as a multiplier of the units of each individual light. | ||||
Light Type | Here you can choose how the plugin will handle the light. By Rhino is the default mode, but you can also turn it into a Maxwell area light to be able to set the color or the units with more precision or a Maxwell HDRI light to be able to emit light using an image (it is strongly suggested to use 32-bit images to get a richer light). | ||||
Intensity Multiplier | It lets you increase or decrease the light intensity. 1 is translated to 100 cd. | Bitmap File | If this is left blank, the spotlight will work as a normal spot; if you enter an image here, it will instead work as an image projector. It is strongly suggested to use 32-bit images, although this is not mandatory and you can load LDR images too. | IES File | Here you can set the IES or LDT file that will be used to emit light. If nothing is entered here, the light will work as a normal spot. |
Rotation around axis(º) | It lets you rotate the projected image around the axis of the spotlight. If there’s no bitmap, this parameter will have no effect. | Rotation around axis(º) | It rotates the pattern of the IES file around the axis of the spotlight. | ||
Falloff Type | It lets you set different curve types to describe the way the light fades from the full intensity inner cone to 0 intensity outer one. | Intensity Multiplier | It lets you multiply the value of the IES file. 1 will output the intensity described in the IES file. | ||
Blur | It lets you make the shadows generated by the spot softer. In the case of the projector, it also blurs the projected image. | Color / Temp.(K) | If the checkbox is active, it will use the custom color chip. If it’s deactivated, the plugin will use the K temperature color box on the right side. | ||
Color / Temp.(K) | If the checkbox is active, it will use the custom color chip. If it’s deactivated, the plugin will use the K temperature color box on the right side. | ||||
Light intensity units | It lets you choose between Power & Efficacy, Lumen, Lux, Candela and Luminance | ||||
Output | Here you can set the intensity value of the light. It may differ depending on the unit chosen above. | ||||
...